To output a 24p master to tape in the 60i format from which the material originated, enable 2:3 insertion on output.
To output a 24p clip with 2:3 insertion:


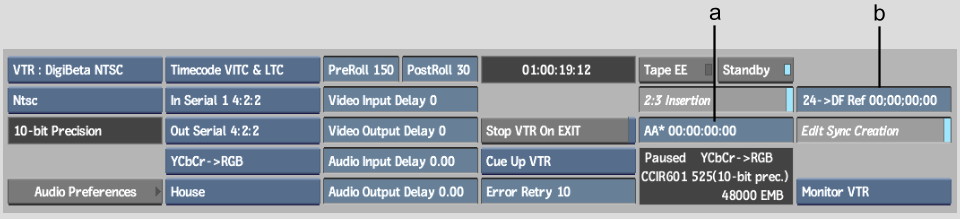
(a) AA Reference field (b) 24>DF Reference field
If you output a 24 fps clip to a drop frame tape, and you want to output to the same spot on the tape, use the same reference timecode that was used when you input the clip. The Drop Frame Reference Timecode field is used to calculate the correct in point on the drop frame tape. When you set the reference timecode in this field, note that the in point timecode field is updated accordingly.
When outputting with 2:3 insertion, the Duration field is automatically adjusted to display the total number of frames after insertion.
In and out 2:3 pulldown frames appear when 2:3 Insertion is enabled in the Engineering menu. They indicate which type of inserted frame falls at the specified in- and out-timecode. When outputting clips:
This ensures the integrity of the output material on the tape.
The new clip is outputted to tape with 2:3 pulldown insertion.


