To animate the shape of an object, you must create keyframes with the Shape Animation controls. Each shape you define becomes a keyframe in the Shape channel of the Channel Editor. The difference between the keyframes is interpolated and the shape animation is created.
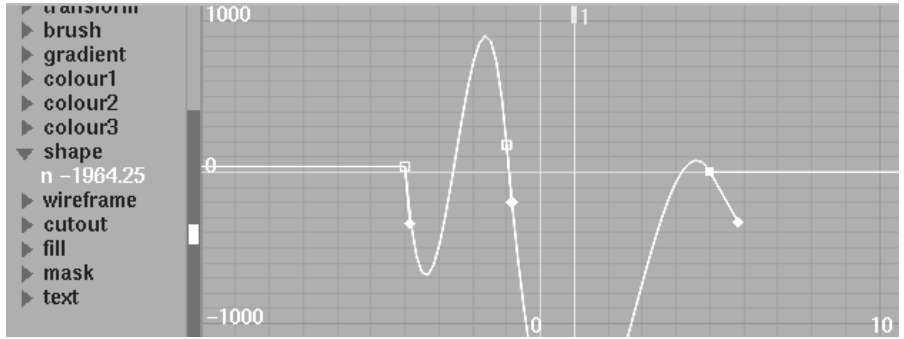
The Shape channel is used to identify the number and location of shape keyframes in a clip. Use the shape curve to control the rate at which an object changes to a new shape. The following figure shows the Shape channel for an object that changes from shape 1 in frame 1, to shape 2 in frame 8, and shape 1 in frame 15.


To animate the shape of an object:
This original shape becomes shape keyframe 1 in the Channel Editor.
To change its shape, you must move, add, or delete a vertex on the object. This new shape is shape keyframe 2 in the Channel Editor.
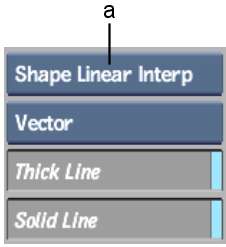
Use the Shape Interpolation box in the Setup menu to specify the interpolation between shapes in the animation.


(a) Shape Interpolation box
| Select: | To: |
|---|---|
| Shape Linear Interp | Produce sudden transitions between shapes. |
| Shape Cardinal Interp | Produce smooth transitions between shapes. |
Moving between Shape Keyframes
Use Previous and Next to move between shape keyframes in an animation.
Use Add to create a shape keyframe. This can be useful for creating animations that start and end with the same shape.