To output a clip to a VTR, load a clip into the Output Clip menu and then set the in and out points for clip output. If necessary, enable the options to offset the start frame for output and to apply a letterbox overlay. See Output Clip Menu Controls.
If the duration marked by the in and out points that you set for output is greater than the duration of the clip you are outputting, black frames fill the gap between the end of the clip and the out point of the clip. For example, if you set an in point at 01:00:00:00 and an out point at 01:01:00:00, the clip output process has a duration of one minute. If the clip you are outputting is 30 seconds long, the last 30 seconds of the output result on tape are filled with black frames.
To output a single clip to a VTR:


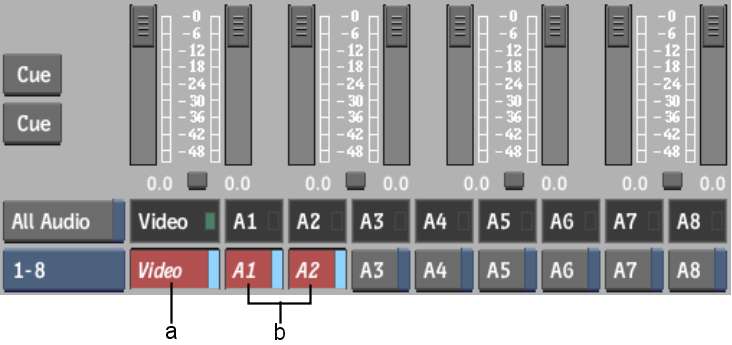
(a) Video track enabled for output (b) Audio channels 1 and 2 enabled for output
When All Audio is enabled, all audio channels are sent to the audio converter, not just the ones you enabled in the previous step.
This means you can monitor all audio, even though you are only recording one or two tracks to the VTR. You can also route the other audio channels to a mixer or any other device capable of capturing an audio signal.
The preview window displays the contents of the tape currently in the selected VTR.
The clips with Status selected are output to tape. During output, the Status column is updated to reflect the status of each clip: