Use
the colour channel curves in the Colour menu to colour correct the
result composite. By default, these colour corrections affect the
keyed front clip after it is blended with the back clip.
To colour correct the result composite:
- Click Result so that you can see the
changes as you make them.
- In the Keyer, click Colour.
The Colour menu appears.
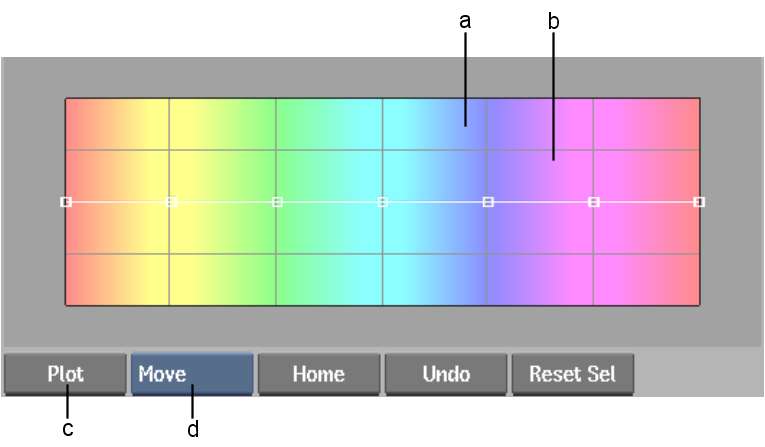
The Colour menu displays
colour curves over a hue spectrum. When you modify the shape of
a curve over a region of the spectrum, only those colours are affected.
- Enable Curves to apply the colour curves
of the hue spectrum to the front clip.
NoteWhen the Curves button
is disabled, settings in the Colour menu are bypassed.
- Click the button that corresponds to
the colour channel that you want to adjust: Saturation, Red, Green,
or Blue, or Luminance.
- Edit the colour curves using the options
in the Edit Mode box. For example, select Move so you can use the
cursor to move the points along the curve:
- Move control points up to boost the corresponding channel
value for the hue spectrum covered by that region of the curve. For
example, boost red in the blue region of the hue spectrum to make blue
pixels purple.
- Move control points down to boost the
corresponding channel value for the hue spectrum covered by that
region of the curve. For example, lower saturation in the yellow
region of the hue spectrum to mute yellow pixels.
- Continue to modify the shape of the curve
until you are satisfied with the result.