Working with the Frustum


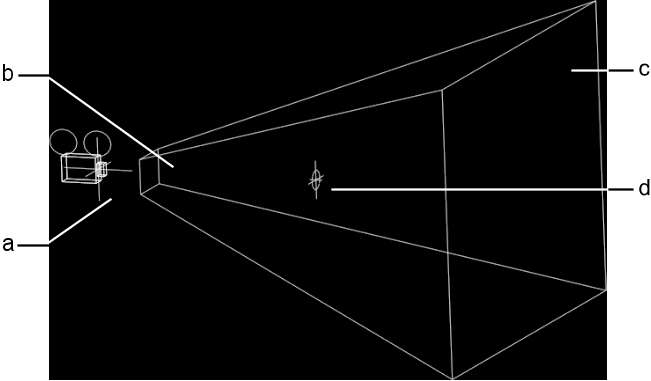
The volume of space viewed by the camera is called the frustum. The frustum is, in effect, a viewing pyramid. The camera is located at the apex of the pyramid, and the far clipping plane forms the base. The pyramid may be truncated by the near clipping plane. The point of interest, or aim, is the target at the center of the camera’s view.

Show small imageShow large image

(a) Camera (b) Near clipping plane  (c) Far clipping plane  (d) Aiming target 

If you place a surface within the frustum, it is visible in the final animation. If the surface is located outside the scope of the frustum, it is not visible at that frame in the animation.

To see the camera and frustum:

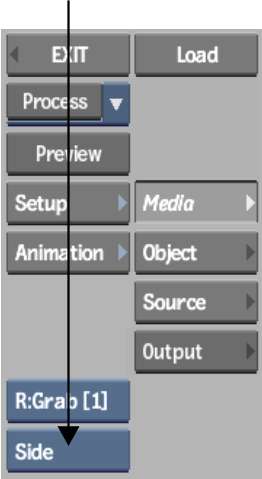
  1. From the View box, select Side.

    Show small imageShow large image

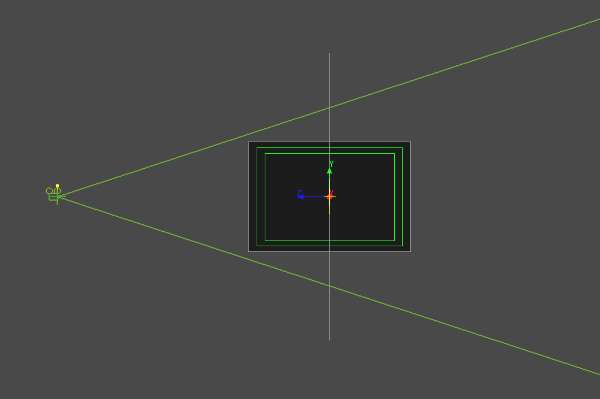
  2. In the image window controls, click to zoom out from the scene.
  3. Enable the Pan button, and pan around the scene until you see the camera icon.

    Show small imageShow large image

  4. From the Camera menu, click the Aim/Up tab.
  5. Ensure that Camera Type is set to Aim, or Aim and Up.
  6. Drag the Roll field until you see the four sides of the frustum.
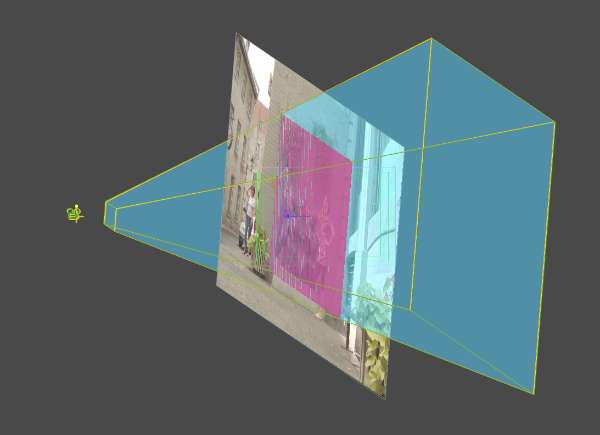
  7. On the Stereo tab, enable Zero Parallax Plane and Safe Stereo Viewing.

    The safe viewable volume of the frustum, and the zero parallax plane area appear and are denoted with a transparent colour. The aiming target is centered at zero parallax.

  8. Change the position of the near and far clipping planes to alter the depth of the frustum. See Moving the Near and Far Clipping Planes.
  9. Change the position of the camera to alter the orientation of the frustum. See Moving the FBX Camera.

    Show small imageShow large image

  10. Change the position of the camera's aim to alter the orientation of the frustum. See Adjusting the Aim of the FBX Camera.
  11. Adjust the angle of view to adjust the size of the objects as viewed by the camera. See Adjusting the Field of View.