In capturing from timecode mode, you capture
one shot by marking the length of the shot with in and out timecode
values. You can either enter the timecode values manually or scrub
the VTR to the in and out points. You also have the option of capturing
video only, audio only, or audio along with the video.
To capture from timecode:
- Click Editing, and then click Capture.
The Capture menu appears.
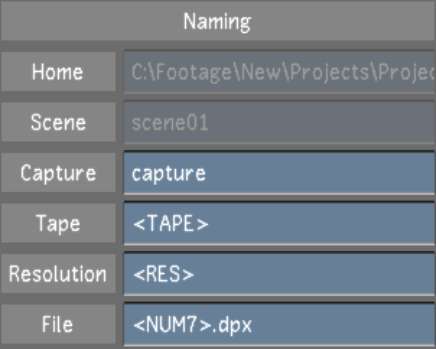
- In the Naming group, enter values in
Capture and Tape. See
Capture Menu Options.
- Select a raster for capture. See
Selecting a Raster for Capture.
- In the Sync Mode list, select a synchronization
option. See
Capture Menu Options.
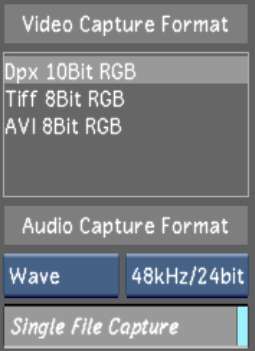
- In the Video Capture Format list, select
a file format. See
Capture Menu Options.
NoteThe AVI format is
only available on Windows workstations.
- Select the audio file type, bit depth,
and determine if you want to capture the audio tracks as a single
or multiple files. Single File Capture is enabled by default. For
more information about capturing audio, see
Capturing an Audio File.
- (Optional) Set video and audio capture
delays. See
Capture Menu Options.
- Select the video and audio tracks to
capture. See
Capture Menu Options.
- Set the in and out points. See
Setting In and Out Points.
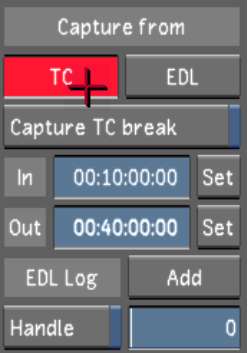
- In the Capture from group, click TC.
When the button turns red, click it again to confirm the action.
The capture starts. The
VTR shuttles back to the in point and begins capturing. The VTR's
current timecode and remaining timecode are displayed in a field
located to the left of the playback controls. While capturing, both
timecodes update and appear in red.
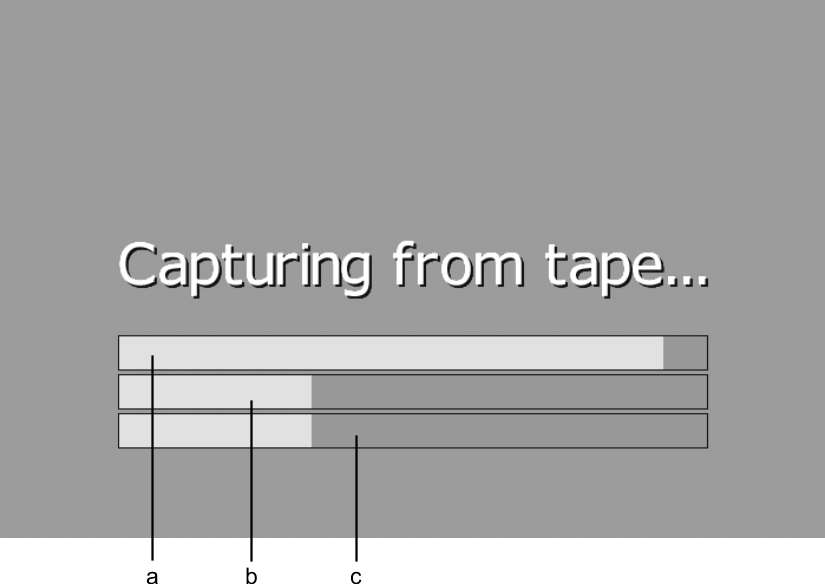
During capture, the message “Capturing
from tape...” appears in the Player, and progress bars
display shot, tape, and overall progress. There is no video displayed
in the Player during capture.
- (Optional) To pause the capture process
to access additional capture options, press Esc, and then do one of the following:
- Press Esc to
abort the capture.
- Press E to
restart the capture.
- Press S to
skip the current tape.


