Thumbnails, or proxies for each frame in the clip, display information about the clip and frame. Frame numbers, record timecode, and/or keycode appear in the upper-left corner. The name and duration of the clip, as well as track information, appears in the lower-left corner. If the clip has a resolution that does not match the project resolution, timecode or frame numbers that appear on the clip are light blue.


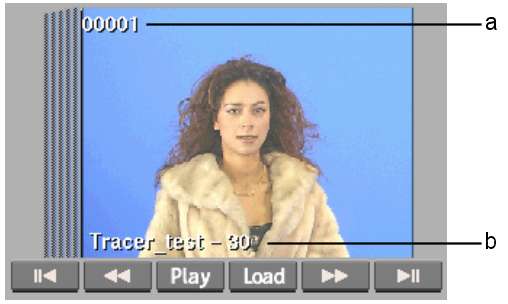
(a) Frame number and selection area (b) Name of clip and number of frames in the clip
You can navigate the layers of a video track and the track information updates to reflect which layer you are viewing. See Navigating Edit Sequences.
For more information on the display of keycode on clip proxies, see Displaying Timecode and Keycode.
Clips whose primary track is stereo have an “S” icon in the upper-right corner. You can bring stereo clips only into Batch and Action.


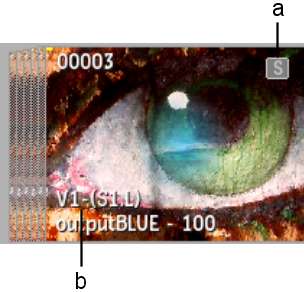
(a) Stereo icon (b) Stereo track information
See Stereo Tracks.
Soft-import clips have a light grey icon in the lower-right corner that indicates the file format of the source images. Hard-import clips with import history have a dark grey icon. Hard-import clips without import history have no icon.


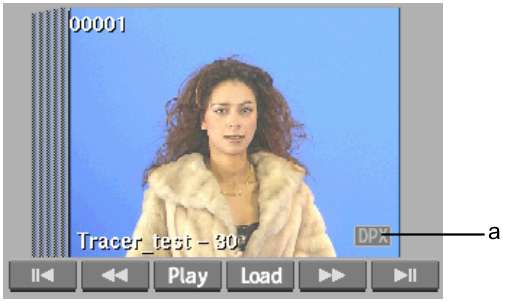
(a) Light grey icon indicating a soft-import clip


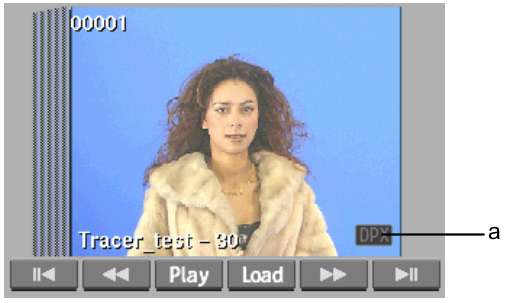
(a) Dark grey icon indicating a hard-import clip with import history
See Media Management.
Clips that have a clip history associated with them have an “H” in the upper-right corner.


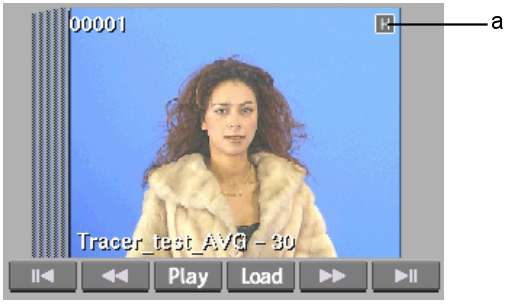
(a) Clip History icon
See Clip History.
You can also set preferences to display source and/or record timecode, frame rate (24 fps, 25 fps, 30 fps, 50 fps, or 60 fps), and resolution (image size in pixels, bit depth, and aspect ratio). For information on setting clip display preferences, see General Preferences.