Adding an FBX Camera
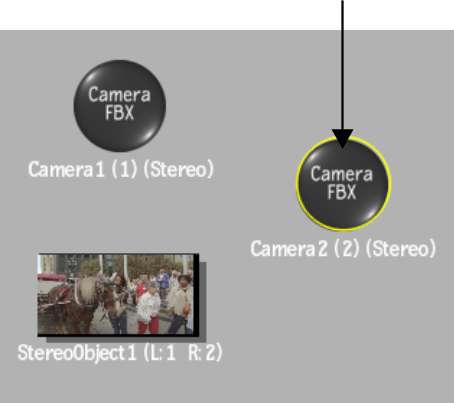
By default, an FBX camera exists in the Action scene when using stereo clips, or when Action has been set up to work in stereo (you may need to pan in the schematic to see the camera node). You can add multiple FBX cameras in order to change point-of-view or depth-of-field from one camera to another. You can add and animate multiple cameras when creating compositions. You can also switch from one camera to another at any point.
To add a stereo camera to a scene:
A new FBX camera is added to the scene. An icon representing the camera is added to the schematic.


