Show in Contents

Add to Favorites

Home: Smoke

Publishing Options

Processing and Publishing

Publishing in the Background

Publishing a Clip Using the Publish Tool
When you publish a clip, the media is written
to the destination on the shared storage and another clip is created
that points to the newly created media on the shared storage. You
can use the Publish tool to maintain soft edits. Three publishing
options are available: Complex, Simple, and Flatten. When you publish
soft-imported media, you can also decide whether or not to link
directly to the source media located on the same filesystem. If
you do not link to the source media, a new copy of the files is
created, which requires more space on the filesystem.
To
publish a clip:
- In
the clip library, click Tools.
- From
the Tools box, select Publish.
The Publish controls appear.
- In
the clip library, select the clips that you want to publish.
- From
the Publish Type box, select the publish type.
The displayed options differ depending on the
publish type selected. See
About the Publish Tool.
- Set
any other Publish options using the corresponding controls.
- In
the Publish Destination field, enter the shared storage directory.
- From
the Destination Library box, select a destination library.
NoteIf your clips are not rendered and you press Alt+Tab (to
toggle shells), after you click Publish Clip, corrupted frames may
result.
- Click
Publish.
The clip is published to the selected library
as follows:
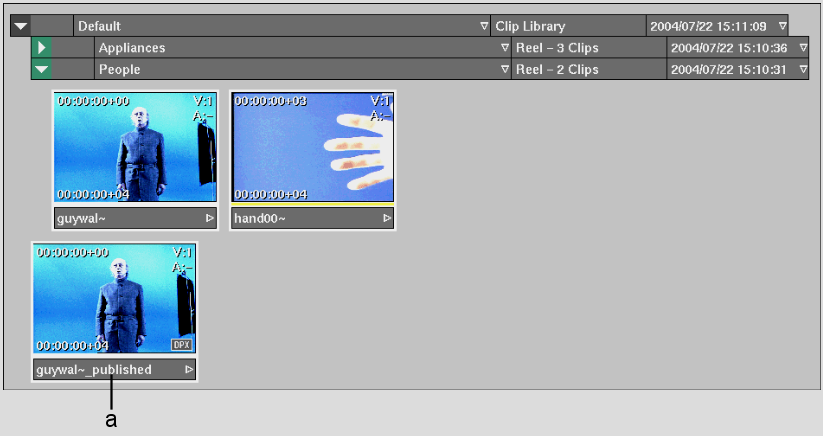
- A new
clip is published in the library, named <clip name>_published,
which references a published image sequence.
- Each
frame of the clip is published as part of a sequentially-numbered image
sequence at the destination directory, where file names are <clip name>.######.ex.
An icon indicating the file type appears in
the lower-right corner of the clip. If the same file exists, you
are asked if you want to overwrite it or abort the process.
NoteA published clip does not have history.
Accessing history for a newly published clip may cause a system
crash.


