Show in Contents

Add to Favorites

Home: Lustre

Editing Keyframes

Editing Keyframes

Modifying Your Animation

Selecting Keyframes
You
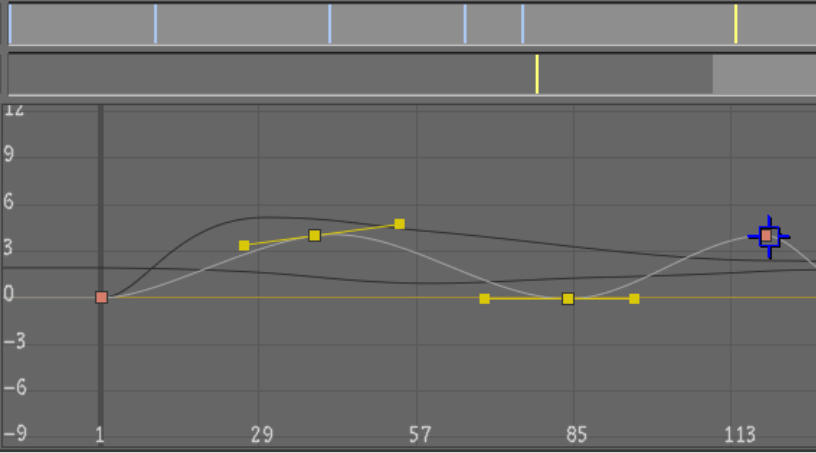
need to select keyframes in order to edit them. You can select one
keyframe at a time, marquee select a group of keyframes, or select
all keyframes in a given channel.
Selected keyframes are
yellow. Unselected keyframes are red.
To select a keyframe:
- In the Animation > Curves menu, position
the cursor over the keyframe and click.
The keyframe is selected.
To select multiple keyframes:
- In the Animation > Curves menu, click
a keyframe to select it and then hold down Ctrl and
click additional keyframes to add them to the selection.
NoteTo deselect a selected
keyframe, hold down Ctrl and
click the keyframe. This is useful when you make a marquee selection
but you would like not to include one or more keyframes in the selection.
If you release the Ctrl key and then click a keyframe,
this keyframe is selected and the previous selection is cleared.
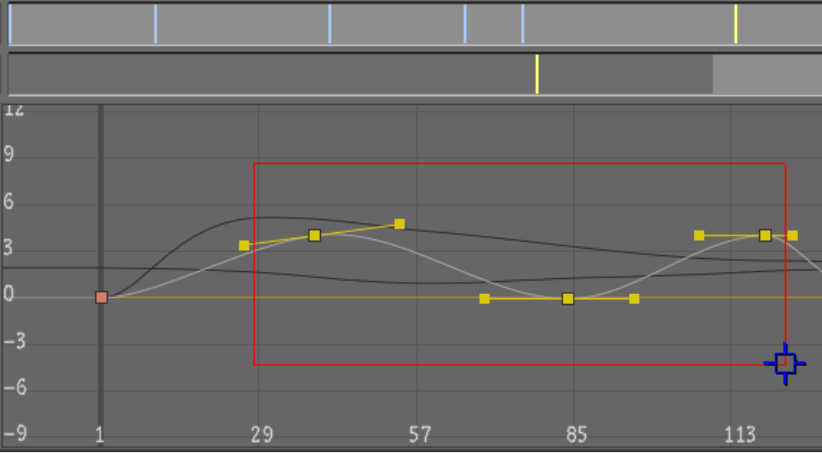
To marquee select multiple keyframes:
- In the Animation > Curves menu, drag
to draw a marquee selection rectangle around the keyframes you want
to select.
Keyframes inside the
marquee selection are selected.
- To zoom in on the selected area, hold
down the Alt key when
drawing the marquee selection.
To select all keyframes in the selected
curve:
- In the Animation > Curves menu, click
AllPts in the Animation Controls.


