Show in Contents

Add to Favorites

Home: Lustre

Linear Mode: Creating Conversion LUTs

Linear Mode: Creating Conversion LUTs

Comparing Colour Values

Viewing Reference Images
While
creating Log to Lin conversion LUTs, it is important to view reference
images. For example, view other shots in the cut to ensure continuity.
You can also view a frame
from the shot you are working on to see how it looked on film. To
do so, save a reference image to a Grade bin in Log mode, and then
load it to the frame buffer in Linear mode. For information on saving
shots to a Grade bin, see
Grade Bins: Saving, Applying, and Deleting Intermediary Grades.
When you view reference
images, you can switch between the reference image and the current
shot, or you can view them both simultaneously.
To switch between a reference image and
the shot you are working on:
- Load the reference image to the frame
buffer by doing one of the following:
- Go to the frame you want to use in the
Storyboard and then press K to
load it to the frame buffer.
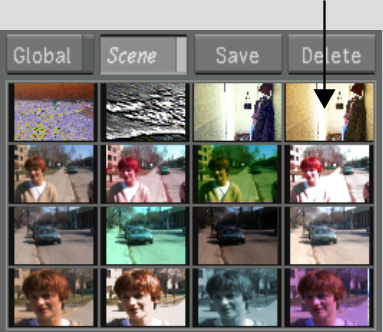
- Right-click a Grade bin thumbnail.
- In the Storyboard, select the shot you
are working on.
The shot appears in the
Player.
- To toggle between the reference image
and the shot you are working on, press L.
To display the reference image and the
current shot simultaneously:
- Assign the shot you want to work on to
Playhead A. Press F1 or select
A from the Playhead button, and then select the shot in the Storyboard.
- Press F2 or
select B from the Playhead button.
The shot assigned to Playhead B appears.
- Load the reference image to the frame
buffer by doing one of the following:
- Press K to
load the current frame in the Storyboard to the frame buffer.
- Right-click a Grade bin thumbnail.
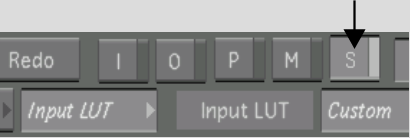
- Press L or
click S to assign the reference image to Playhead B.
The reference image appears in the Player. At
any time, press L to toggle
between the original shot (O button) assigned to Playhead B and
the reference image (S button).
TipIf you want to use a shot from the Storyboard
for reference, you can use the shot assigned to Playhead B. In this
case, you do not need to load a reference image to the frame buffer.
- Press F5 to
enable split view.
- Press F4 to
toggle horizontal and vertical split view.
The images assigned to Playhead A and Playhead
B are displayed. Playhead A is currently selected and displays the
shot you are working on. Playhead B displays the reference image.
TipPress F3 to view your reference image
(Playhead B) and the shot you are working on (Playhead A) in separate viewers.
- To work on the shot you assigned to Playhead
A, press F1 or select
A from the Playhead button.
The shot you are working on is selected. You
can move back and forth between the shots in Playhead A and Playhead
B by pressing F1 and F2 respectively.


