Saving Presets


Save settings from the current Colour menu to a preset. You can save settings to the following Presets lists:

NotePrimary presets are accessible from the Grading menu.
NoteSaving to a preset saves the settings currently displayed in the Player. For example, if you save to a preset in the middle of a colour dissolve or animation, this timeline position is saved to the preset file. Saving to a preset is a good way to save and load animation keyframes.

To save a preset:

  1. Click the Presets button in the Colour menu or right-click Grading, Curves, or Secondaries.
    NoteYou can also right-click the Hue, Luminance, or Saturation button in the HLS Keyer as well the Presets colour buttons in the Diamond Keyer.

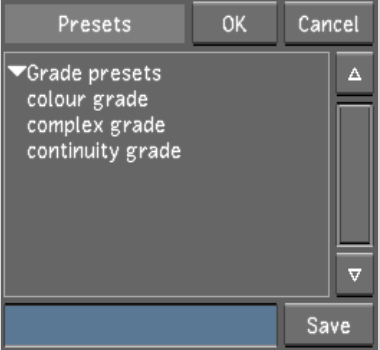
    The affiliated Presets list appears. For example, if you right-clicked the Grading menu, the Grade presets list appears.

    Show small imageShow large image

  2. In the Colour menu, make any necessary modifications to the settings to create the colour look you want.
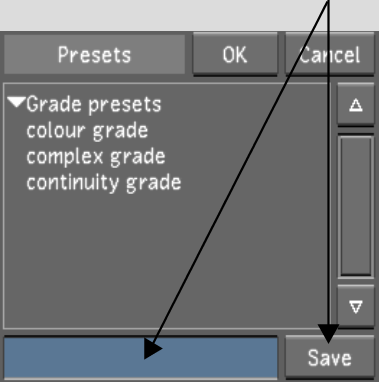
  3. In the Presets Name field, enter a name for the preset, and then click Save.

    Show small imageShow large image

    NoteSpaces are not permitted in naming conventions. It is recommended that underscores be used instead of spaces when working on either Linux or Windows.

    The settings in the current menu are saved to the preset. The preset appears in the Presets list.

    TipTo save the settings to an existing preset, select the preset in the Presets list.