Chapter 16, Creating Lustre Sparks Effects
| Licensing Lustre Sparks Plugins | Lustre Sparks Plugin Descriptions | ||
Chapter 16, Creating Lustre Sparks Effects |
|||
Load and use Lustre Sparks plugins from the Effects menu. You can load up to six plugins at a time.
Each plugin has various parameters that you set to create the desired effect. Apply the effect to the whole shot, or an area of a shot defined by a secondary. You can animate the effect to make it change over time. You can also create an effect using a single or multiple plugins on the same shot. The order of the plugin in the menu will affect the final result, as they are processed sequentially starting with the plugin at the top of the menu and continuing down.
In the Storyboard, select the shot to which you want to apply the effect.
From the Main menu, click Effects to display the Effects menu.
Enable Plugin Setup.
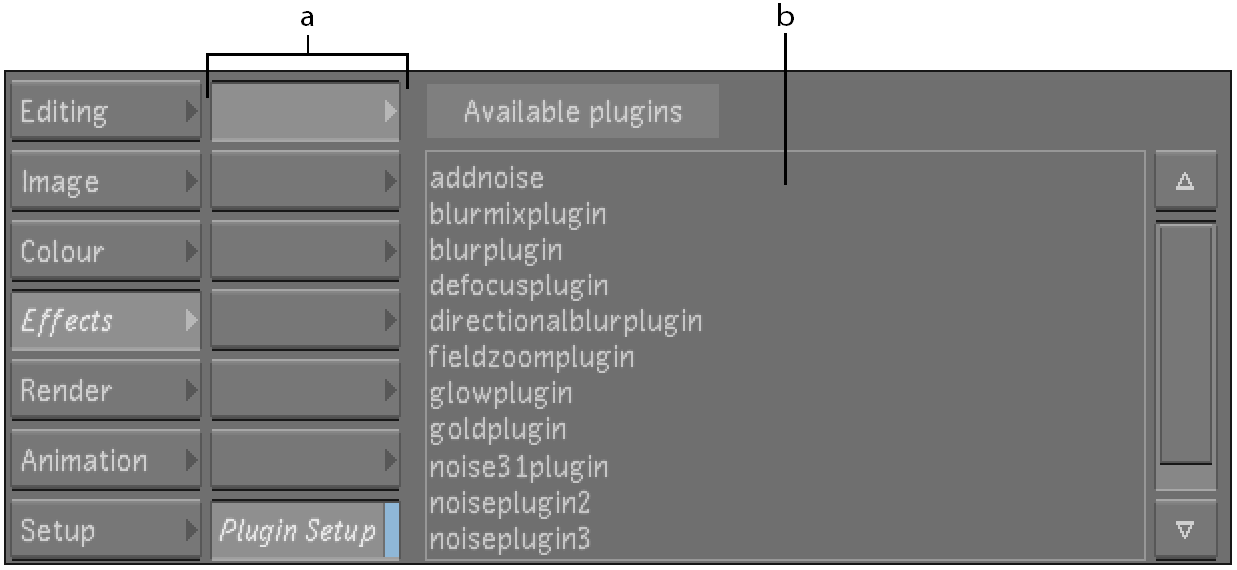
A list of the available plugins appears.
 "Show full-size image")
|
|
Click the blank button in which to load the plugin.
Select a plugin from the Available Plugins list.
The plugin is loaded and its name appears on the selected button. The plugin parameters appear to the right of the button.
Hint: You can also replace a loaded plugin with another by loading the second plugin into the button used by the first. In this case, the settings of the replaced plugin are deleted.
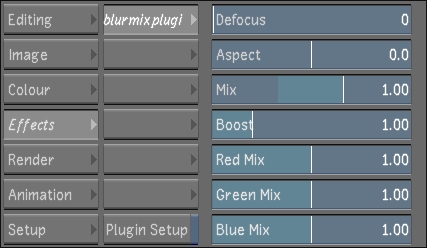
Set the parameters as needed.
 "Show full-size image")
The parameters are applied to the entire shot and the image is dynamically updated to reflect the changes.
If you wish, modify the effect by repeating the previous steps on the shot with other plugins.
Create one or more secondaries for the shot to which you want to add an effect.
In the Storyboard, select the shot.
In the Main menu, click Effects to display the Effects menu.
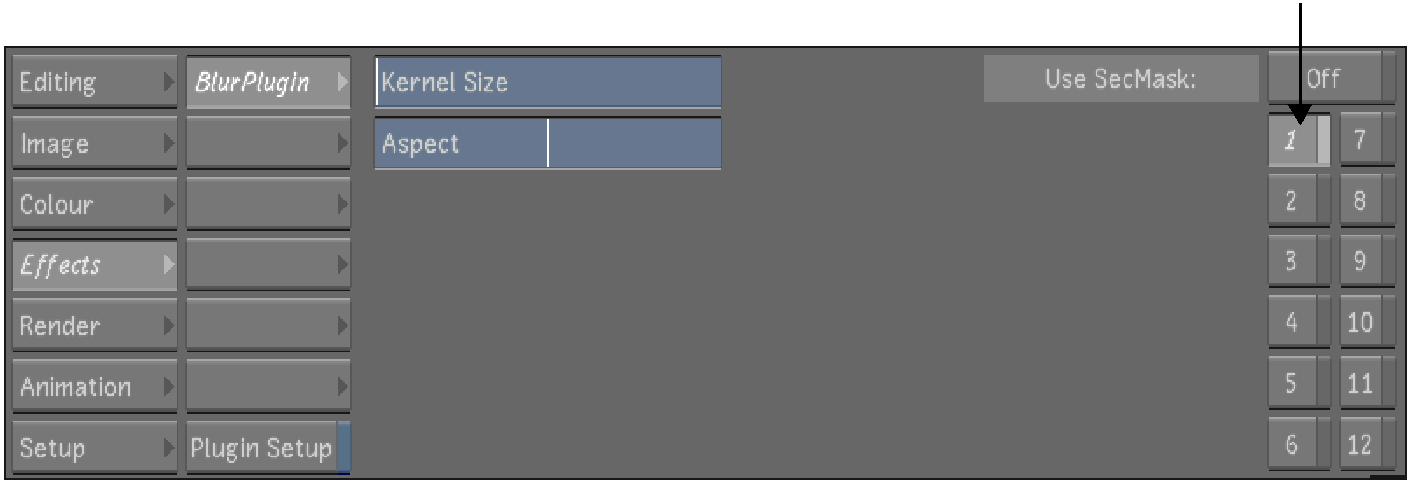
Click the layer number button that corresponds to the secondary you want to use.
 "Show full-size image")
Create the effect as described in the previous procedure.
The plugin is applied to the area defined in the secondary.
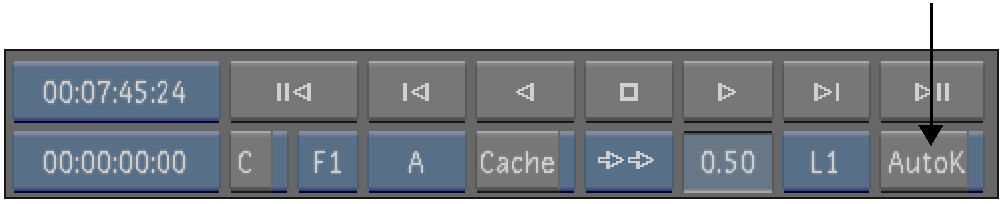
Place the positioner on the frame where you want the effect to start.
Load the plugin.
Click the plugin button to select the plugin.
The plugin name on the button is highlighted and italicized and its parameters appear to the right of the buttons.
Enable AutoK.
 "Show full-size image")
Set one or more of the parameters.
As soon as you change a parameter, a blue line in the Shot timebar appears indicating a keyframe.
Move the positioner to the next frame where you want to set another keyframe and adjust one or more of the parameters. Continue to add keyframes as needed.