
Appendix B, The Tangent CP100 Control Surface
| Modifying the Hue, Saturation, and Lightness Curves |  |
||
Appendix B, The Tangent CP100 Control Surface |
|||
 Applying Secondaries to the Shot
You can colour grade up to eight secondaries from the control surface.
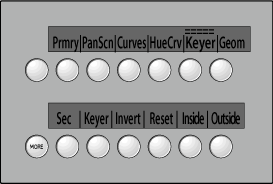
Enable Keyer.
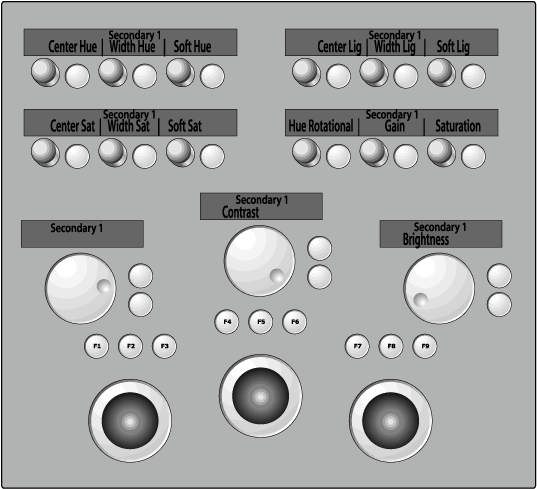
The secondary controls for the first secondary appear. Once you enable and key a secondary, you can modify hue, gain, and saturation. You can also modify the brightness and contrast of the current secondary.
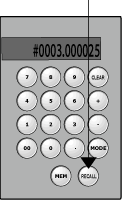
On the right side of the control surface, press Recall and then press a number between one and eight to go to that secondary. You can also press Selectv to toggle through the eight secondaries.
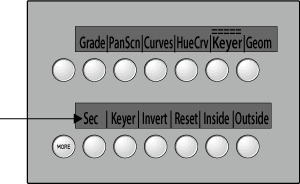
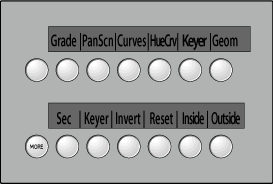
Use the second row of buttons on the left side of the control surface to set basic parameters for secondaries.
| Press: | To: |
| Sec | Switch on and off the current secondary. |
| Keyer | Switch on and off the Keyer for the current secondary. |
| Invert | Invert the key for the current secondary. |
| Reset | Reset the key for the current secondary. |
Enable the Sec button to apply the displayed secondary to the shot.
Enable the Keyer button and then use the controls in the centre of the control surface to create a key.
Enable Keyer in the upper control surface menu, and then enable Keyer in the lower menu.
To sample initial softness and tolerance, press F1 on the control surface and then use the left trackball to position the colour picker over the image. Press F1 again to sample the image.
Note: Sampling from the control surface works slightly differently than sampling from the Lustre user interface. When you sample from the control surface, the value and saturation channels are set to the maximum softness. When you sample from the user interface, the value and saturation channels are not set to maximum values.
Set the hue, brightness/gain, and saturation levels for the key. Each value is modified according to the original sample--you can adjust the centre tolerance value, as well as the softness and tolerance ranges.

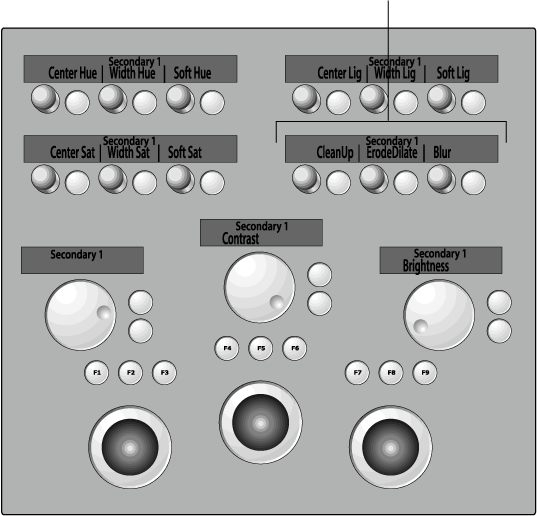
Press More (upper left) to shrink, blur, or clean up the edges of the key.
The Cleanup, Shrink, and Blur controls appear.
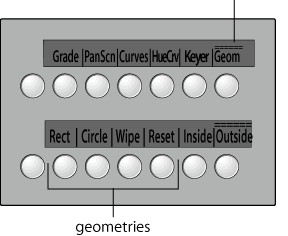
You can create and apply basic and free-form geometries to each secondary.
Enable Geom and then select the shape from the second row.
Use the controls in the centre of the control surface to modify the shape of the geometry, as well as its colour, opacity, and position on the image. You can also apply a blur.
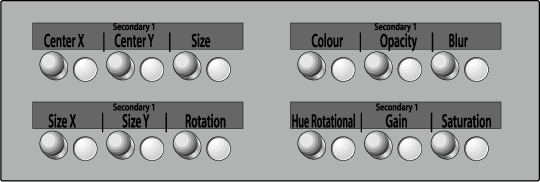
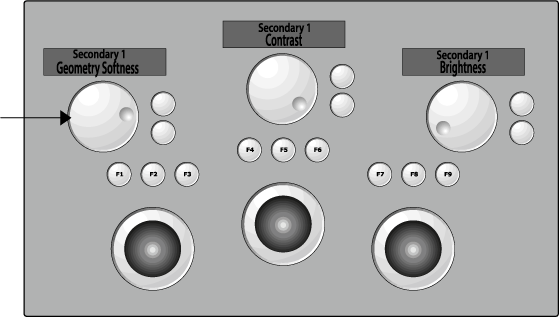
To set softness, use the Geometry Softness dial.
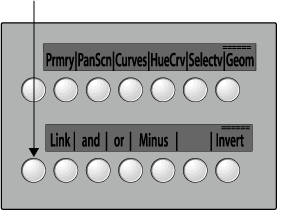
To apply logical operations to the geometry, or invert the geometry, press the More button associated with the second row on the left.
You can move geometries from the control surface.
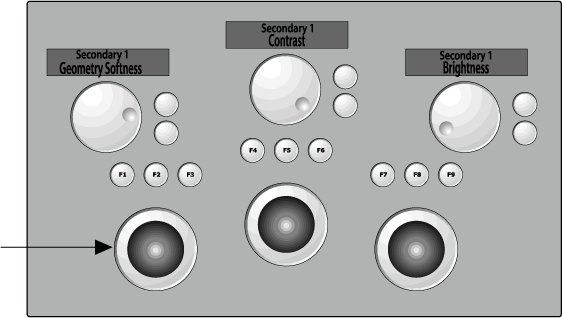
To select a geometry, press F1 on the control surface and then use the left trackball to position the cursor over the geometry. Press F1 again to select it. Alternatively, press F2 and F3 to move back and forth through the geometries (listed in the Axes list).
Use the left trackball to move the geometry.

|