Chapter 15, Secondary Colour Grading
| Shape Tracker | Loading Tracker and Stabilizer Data from Autodesk Applications | ||
Chapter 15, Secondary Colour Grading |
|||
 Animating the Position of Geometries
Animating the Shape of Geometries with the Point Tracker
Assigning and Unassigning Point Trackers to Geometries
Soloing and Ganging Point Trackers
Point Tracker is a useful tool for tracking points through a shot. In situations where tracking a point cloud is impossible, Point Tracker provides an excellent alternative. For example, if Shape Tracker's ROI provides no rigid shapes to track, Point Tracker's ability to track a point remains the best choice. With Point Tracker, you can animate a geometry by applying tracking data to it. Users can assign one or several trackers to a geometry. This is useful when you want a geometry to follow a moving element in a shot. With Point Tracker, you can:
Animate the position of an entire geometry without changing its shape by assigning a tracker to the geometry's axis.
Animate the shape of a geometry by assigning a tracker to each vertex. If you are animating a basic geometry, convert it to a free-form geometry first.
When you apply tracking data to a geometry, only the axis or the position of the vertices is animated. Because you can assign multiple trackers to a geometry, you can assign trackers to both its axis and vertices.
Tracking data appears in the Channel Editor. Tracking data for each tracker is contained in a Trackers directory of the channel hierarchy. Use the channel hierarchy to select the tracker and then modify the tracking data. In the channel hierarchy, the channels for each tracker appear.
| Tracker Channel | Description |
| Ref X | The point being tracked on the X-axis |
| Ref Y | The point being tracked on the Y-axis |
| Track X | Last tracked (or current) tracker position along the X-axis |
| Track Y | Last tracked (or current) tracker position along the Y-axis |
You can also animate the softness of geometries and the position of their individual vertices using the Animation controls. See Chapter 17, Animation.
The Point Tracker is further improved with sub-pixel accuracy. Subsequently, any subtle movement (including movements less than a single pixel in dimension) can now be analysed and written to the Lustre Animation Channel.

You can animate the position of geometries by defining a Point Tracker and assigning it to the axis of the geometry.
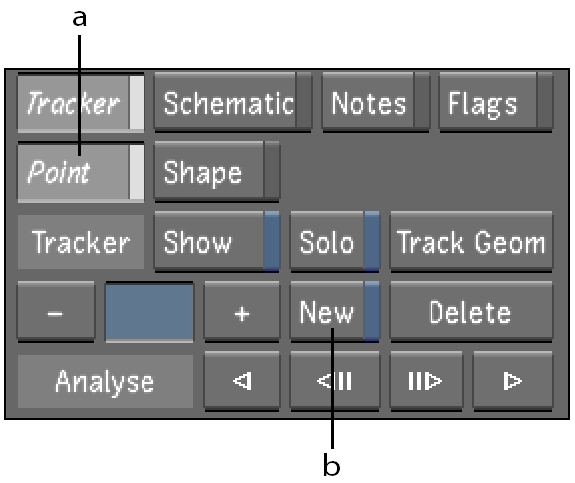
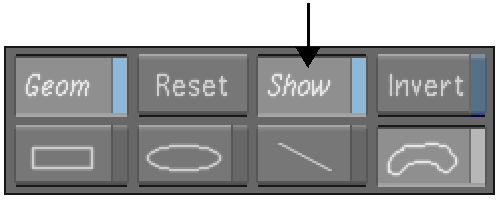
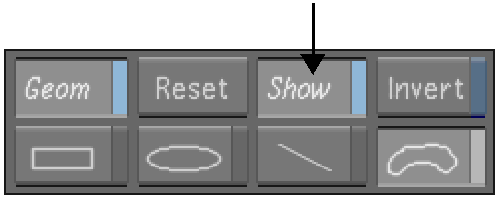
In the Secondaries menu, enable the Secondary button that contains the geometry you want to track.
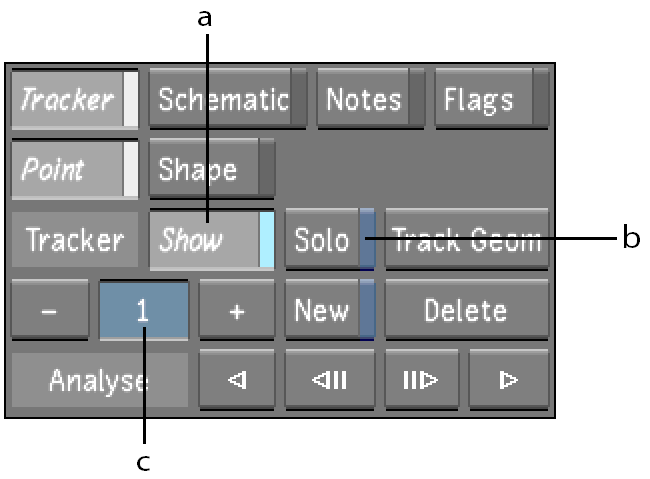
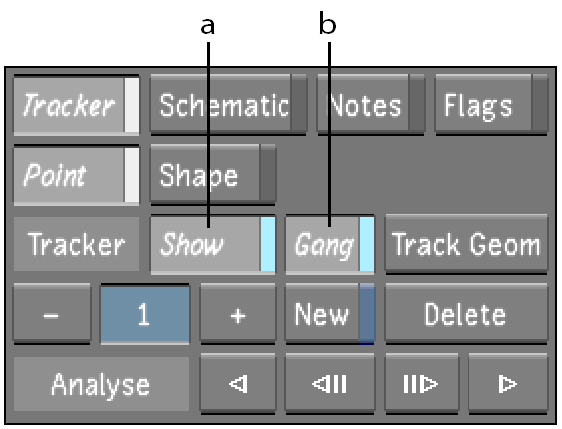
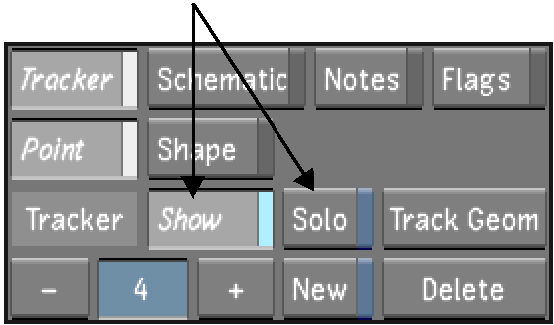
Click Show.

 "Show full-size image")
The Point Tracker option should already be enabled by default.
 "Show full-size image")
|
|
Enable a new tracker by clicking New.
In the Player, go to the frame where you want to start tracking, and then click a tracking point in the image.
In the Player, the tracker is assigned to, and positioned over, the tracking point. A tracker number is assigned to the tracker and the tracker is set to On.
 "Show full-size image")
|
|
|
When a tracker is on, it is displayed in the Player and can be analysed.
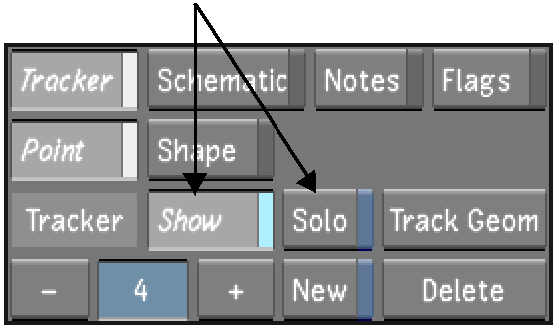
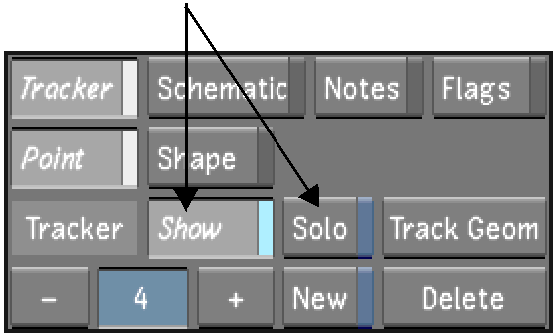
Disable the Solo/Gang button to select Solo mode.
In Solo mode, only the current tracker is analysed.
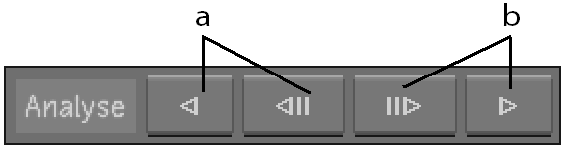
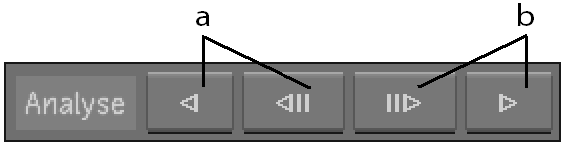
Use the Analyse buttons to analyse the shot:
To track the tracking point forward in time, click the Analyse Forward buttons.
To track the tracking point backward in time, click the Analyse Backward buttons.
 "Show full-size image")
|
|
The system analyses the image and generates tracking data. For each frame in the shot, the position of the tracking point is displayed in the Player. The current position of the tracking point is highlighted in magenta.
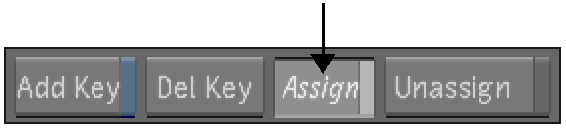
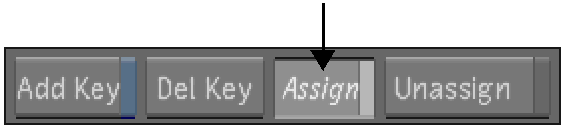
Enable Assign.
 "Show full-size image")
In the Player, click the geometry's axis.
The tracker is assigned to the geometry's axis or vertex.
If the tracker loses the tracking point, click the image to stop the process, and then use the Step Backward or Step Forward button in the Player controls (or press the right Alt or right Ctrl key, respectively) to return to the last frame that was correctly tracked.
In the Player, do any of the following:
To resize the tracker, modify the Match area (magenta rectangle) and Search area (yellow rectangle) by dragging the vertices of the rectangles.
To reposition the tracker, drag the centre point of the tracker.
To reposition the tracker and reference point, middle-click and drag the centre point of the tracker.
Hint: You can reposition the tracker and reference point when the reference point moves off-screen.
Continue using the Analyse buttons to analyse the shot.
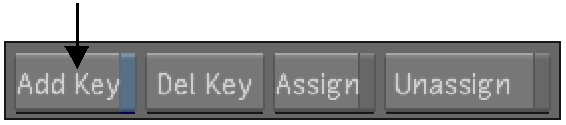
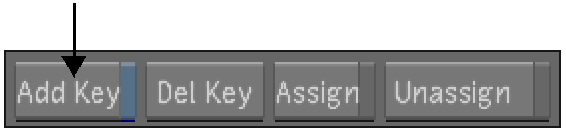
To manually add or reposition a tracking point, go to the frame where you want to modify the tracking data, enable Add Key, and then click a tracking point in the image.
 "Show full-size image")
The position of the tracking point is displayed in the image.
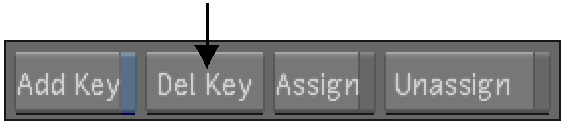
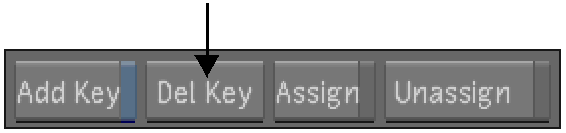
To manually delete the position of a tracking point, go to the frame where you want to remove the tracking data, and then click Del Key (or press Backspace).
 "Show full-size image")
The tracking data is deleted.
Note: Linear interpolation is used to set the tracking position for frames without tracking data. For these frames, the previous defined tracking position and the next defined position are used to interpolate the tracking position.
You can use the Track Geom button to animate the shape of a geometry when using Point Tracker. When you animate the shape of a geometry, the vertices of the geometry change position as the moving elements in the shot are tracked.
When you use Track Geom, a Point Tracker is simultaneously assigned to each vertex in the current geometry. You then analyse the shot to generate the tracking data.
If working with a basic shape, right-click it in the Player to convert it to a free-form geometry.
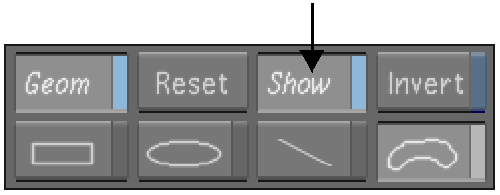
In the Secondaries menu, enable the Secondary button that contains the geometry you want to track.
Enable Show.
 "Show full-size image")
The geometries are displayed in the Player.
Go to the frame where you want to start tracking.
Select the geometry you want to track. In the Player, draw a selection box around the geometry to select all vertices on the shape. Alternatively, click a vertex to select it.
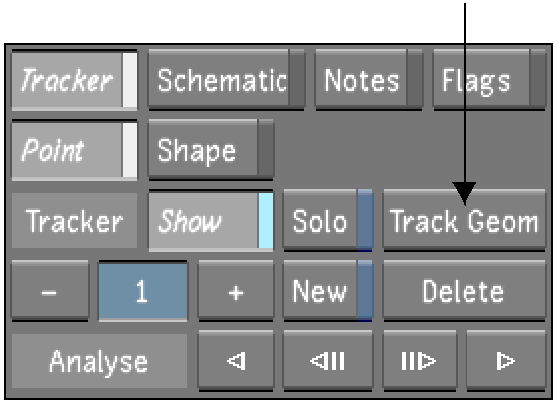
Click Track Geom.
 "Show full-size image")
In the Player, a Point Tracker is assigned to, and positioned over, each vertex on the shape. A tracker number is assigned to each tracker. Gang mode is selected and the Point Trackers are turned on.
 "Show full-size image")
|
|
When a Point Tracker is on, it is displayed in the Player and can be analysed. When Gang mode is selected, all Point Trackers assigned to the geometry (and any others included in the gang) will be analysed simultaneously.
Note: If other Point Trackers exist, they will be turned off and hidden so as not to be included in the gang. However, if they are assigned to another geometry, their tracking data will still be applied.
Use the Analyse buttons to analyse the shot:
To track the tracking point forward in time, click the Analyse Forward button.
To track the tracking point backward in time, click the Analyse Backward button.
 "Show full-size image")
|
|
The system analyses the shot and generates the tracking data.
If the Point Tracker loses the tracking point, click the image to stop the process, and then use the Step Backward or Step Forward button in the Player controls (or press the right Alt or right Ctrl key, respectively) to return to the last frame that was correctly tracked.
In the Player, do any of the following:
To resize the tracker, modify the Match area (magenta rectangle) and Search area (yellow rectangle) by dragging the vertices of the rectangles.
To reposition the Point Tracker, drag the centre point of the tracker.
To reposition the Point Tracker and reference point, middle-click and drag the centre point of the tracker.
Hint: You can reposition the Point Tracker and reference point when the reference point moves off-screen.
Continue using the Analyse buttons to analyse the shot.
To manually add or reposition a tracking point, go to the frame where you want to modify the tracking data, enable Add Key, and then click a tracking point in the image.
 "Show full-size image")
The position of the tracking point is displayed in the image.
To manually delete the position of a tracking point, go to the frame where you want to remove the tracking data, and then click Del Key or press Backspace.
 "Show full-size image")
The tracking data is deleted.
Note: Linear interpolation is used to set the tracking position for frames without tracking data. For these frames, the previous defined tracking position and the next defined position are used to interpolate the tracking position.
You can assign Point Trackers to, or unassign Point Trackers from, geometries at any time after you create them.
You can assign a Point Tracker to the axis of any geometry when you want to animate the entire geometry with or without changing its shape. You can also assign a Point Tracker to a vertex of a geometry when you want part of the edge of the geometry to change as it tracks a moving element in the shot. However, if you want to assign Point Trackers to all the vertices in a geometry, use Track Shape. See Animating the Shape of Geometries with the Point Tracker.
In the Secondaries menu, enable the Secondary button that contains the geometry you want to track.
Enable Show.
 "Show full-size image")
The geometry is displayed in the Player.
Do one of the following:
Add a new Point Tracker.
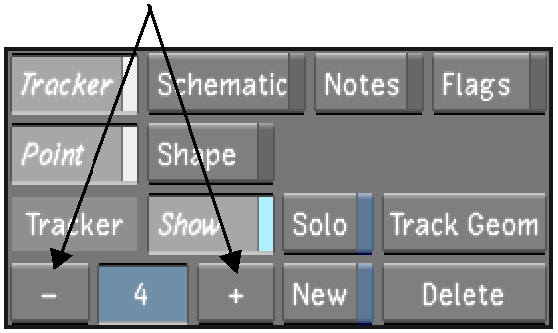
Click the + or - button to select a Point Tracker from the Tracker list. Make sure the tracker is set to On and is in Solo mode.
 "Show full-size image")
The current Point Tracker is displayed in the Player.
Enable Assign.
 "Show full-size image")
In the Player, do one of the following:
To animate the entire geometry without changing its shape, click the geometry's axis.
To animate a single vertex in a geometry, click the vertex.
The Point Tracker is assigned to the geometry's axis or vertex.
Note: You cannot assign a Point Tracker to more than one point on a geometry. If the tracker is already assigned to a vertex or axis on the geometry, you must unassign it.
Select the shot that contains the tracking data.
In the Secondaries menu, enable Show.
 "Show full-size image")
The geometry is displayed in the Player.
Click the + or - button to select a Point Tracker from the Tracker list. Make sure the tracker is set to On and is in Solo mode.
 "Show full-size image")
The current tracker is displayed in the Player.
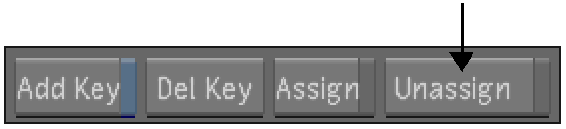
Enable Unassign and then click the vertex or axis to which you assigned the tracker.
 "Show full-size image")
The Point Tracker is unassigned to the vertex but remains in the Tracker list.
You can solo or gang Point Trackers. Solo a Point Tracker when you want to view and generate tracking data for the current tracker only. Gang Point Trackers when you want to view and generate tracking data for multiple Point Trackers at the same time.
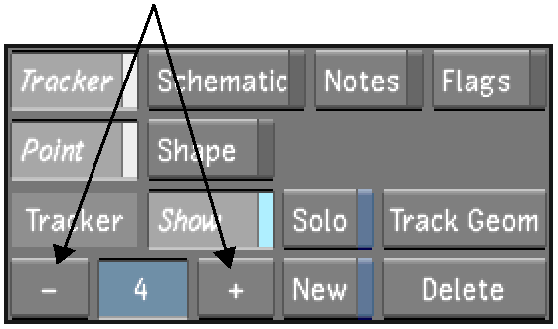
Click the + or - button to select a Point Tracker from the Tracker list.

 "Show full-size image")
Make sure the Point Tracker is set to On and is in Solo mode.
 "Show full-size image")
Only the current Point Tracker is displayed in the Player.
Click the + or - button to select a Point Tracker from the Tracker list.
 "Show full-size image")
Make sure the tracker is set to On and is in Gang mode.
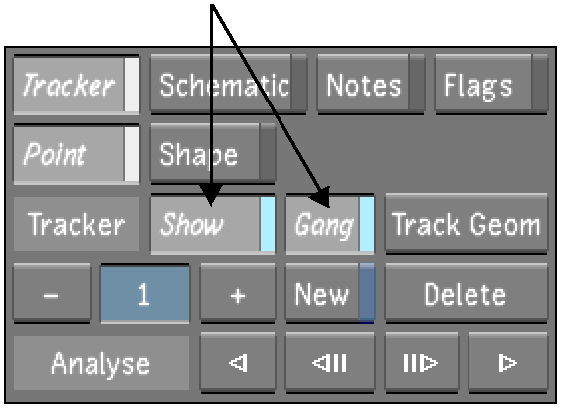
 "Show full-size image")
Repeat steps 1 and 2 for all the Point Trackers you want to add to the gang.
The ganged trackers that are set to On are displayed in the Player and can be analysed as a group.
You can delete Point Trackers from a shot.
Select the shot that contains the tracking data.
In the Secondaries menu, select Solo mode.
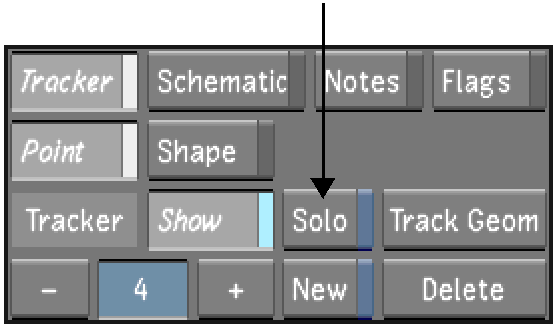
 "Show full-size image")
When you use Solo mode, only the current Point Tracker is displayed in the Player. If the tracker does not appear, set the tracker to On.
Click the + or - button to scroll to the Point Tracker you want to delete.
 "Show full-size image")
If the current Point Tracker is on, it is displayed in the Player.
Click Delete.
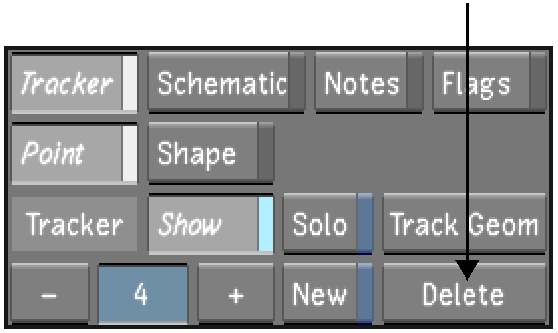
 "Show full-size image")
The Point Tracker is deleted.