Chapter 13, Primary Colour Grading
| Logarithmic Mode: Modifying the Brightness | Linear Mode: Selecting Levels of the Image | ||
Chapter 13, Primary Colour Grading |
|||
Poor image contrast can be caused by various factors. For example, when you remove a colour cast from a shot, the shot may become washed out. Washed out images usually occur when image contrast and saturation levels are too low. To complete the task of balancing the colours in the shot, use the Contrast controls to correct poor contrast. When you correct contrast, you can also set the pivot point and saturation levels. See Setting the Pivot Point and Modifying Saturation.
 "Show full-size image")
|
|
|
Note: When you use a slider or colour balance wheel to colour grade a shot, the colour range is limited by the control (the edge of the colour wheel, for example). Use the Autodesk control surface or the Tangent CP100 control surface to reach the full spectrum of colour. You can also use the standard Lustre calculator to extend beyond the UI colour range. To access the calculator, click on the printer lights and then right-click one of the colour wheel values.

Improve image contrast by modifying the film gamma with the Contrast slider. Use the Contrast Balance wheel to increase the contrast of any channel while decreasing the contrast of other channels. These changes in contrast are relative to the pivot point.
Note: To see how balancing the contrast works, view the histogram. Press Alt+2 while modifying the contrast balance and the pivot point.

|
Warning: The Histogram, Waveform, and Vectorscope functions do not update when GPU processing is enabled. |
Indicate whether this is the initial or final primary grade:
To work on the initial primary colour grade, click Input.
To make final adjustments to the primary colour grade, click Output.
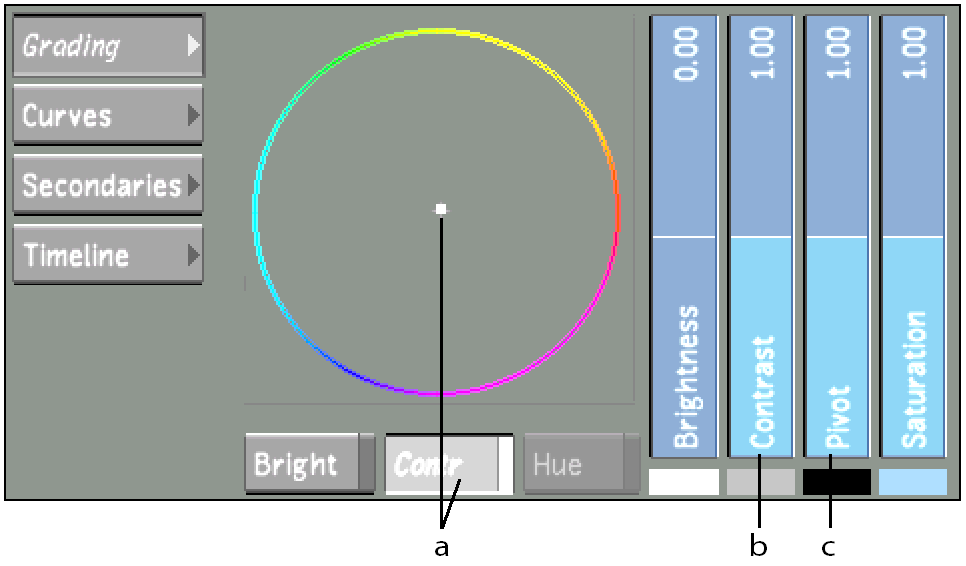
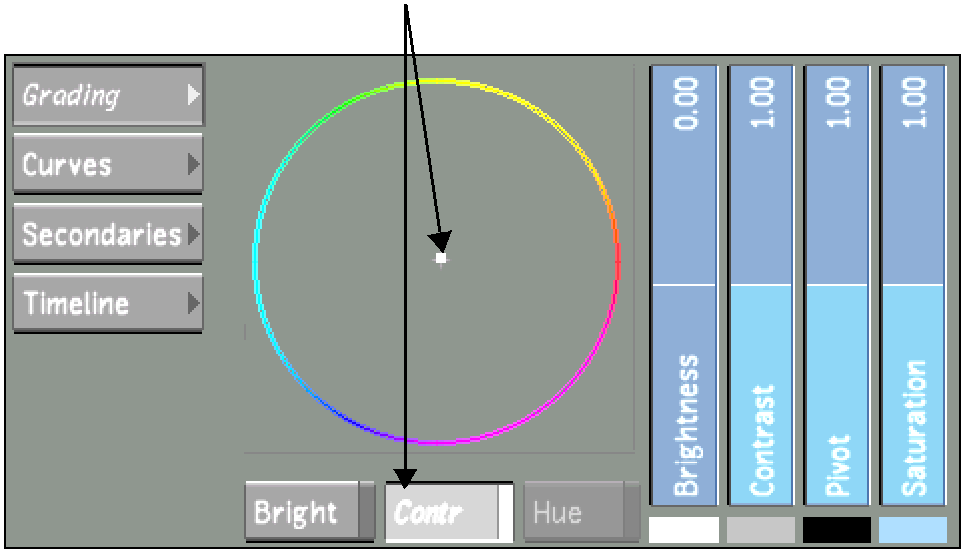
Modify the contrast:
To increase the contrast in the image, drag the Contrast slider up.
To decrease the contrast in the image, drag the Contrast slider down.
To increase contrast in a range of colour in the image, enable Contrast and then drag the Contrast Balance wheel towards the colour.
 "Show full-size image")
The colour you drag toward increases in contrast while the opposing colours decrease in contrast. The overall image contrast remains the same.
Note: The pivot point is the point around which the contrast balanced. See Setting the Pivot Point.
Make adjustments to the image using the Contrast slider and Contrast Balance wheel until you are satisfied with the results.
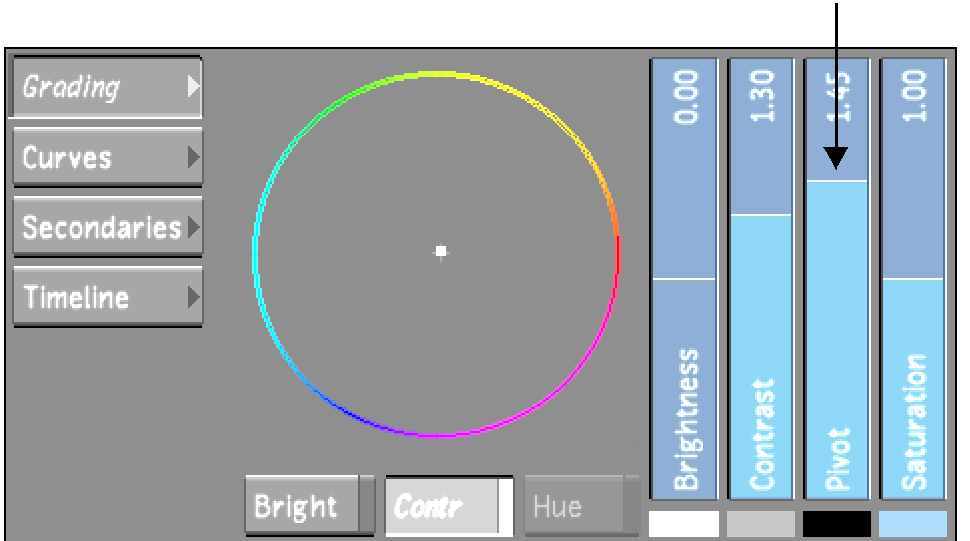
You can set the pivot point for contrast. The pivot point is the anchor around which contrast is scaled. By default, the pivot point is set to the midpoint in the image. You can move the pivot point to scale the contrast around the image highlights or shadows.
Indicate whether this is the initial or final primary grade:
To work on the initial primary colour grade, click Input.
To make final adjustments to the primary colour grade, click Output.
Drag the Pivot slider to move the anchor around which the contrast is modified. Drag up to modify contrast around highlights. Drag down to modify contrast around shadows.
 "Show full-size image")
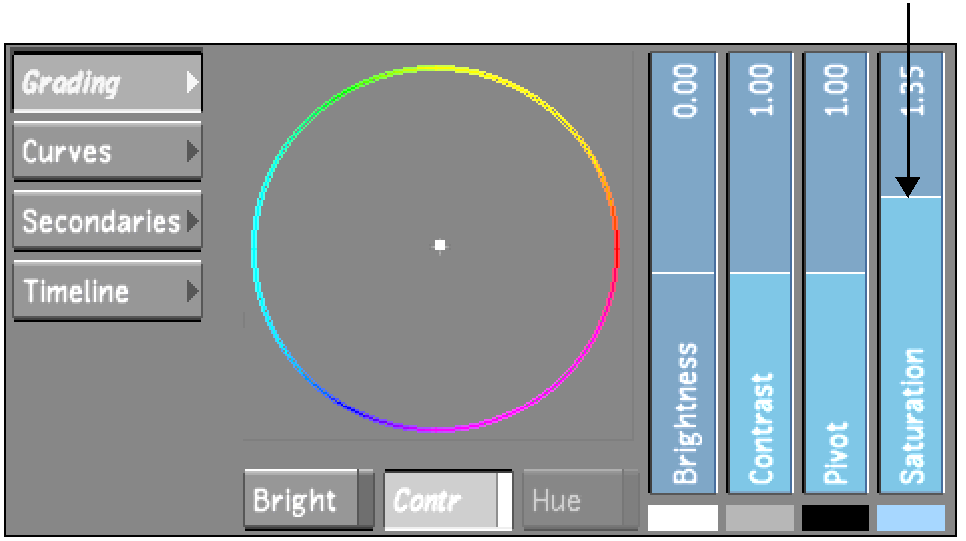
Control the image's colour intensity by modifying saturation levels.
Indicate whether this is the initial or final primary grade:
To work on the initial primary colour grade, click Input.
To make final adjustments to the primary colour grade, click Output.
Modify the saturation:
To increase the saturation in the image, drag the Saturation slider up.
To decrease the saturation in the image, drag the Saturation slider down.
 "Show full-size image")
