Chapter 11, Input LUTs
| Applying an Existing Input LUT | |||
Chapter 11, Input LUTs |
|||
Different film stocks produce various results. Shoots can also occur under many conditions, creating colour variations in the image. To create continuity between shots, you can apply unique Log to Lin conversion LUTs to different shots. Use the LUT Editor to create Log to Lin conversion LUTs. Conversion LUTs are used to gamma correct the shot and convert logarithmic data to linear data.
 "Show full-size image")
|
|
Set up the Player to monitor the shot you are converting and a reference image.
Use the Pixel Analyser to sample corresponding colours from the original and converted shot, as well as a reference image.
Modify the default conversion settings using the LUT Editor.

While creating Log to Lin conversion LUTs, it is important to view reference images. For example, view other shots in the cut to ensure continuity.
You can also view a frame from the shot you are working on to see how it looked on film. To do so, save a reference image to a Grade bin in Log mode, and then load it to the frame buffer in Linear mode. For information on saving shots to a Grade bin, see Grade Bins: Saving, Applying, and Deleting Intermediary Grades.
When you view reference images, you can switch between the reference image and the current shot, or you can view them both simultaneously.
Load the reference image to the frame buffer by doing one of the following:
Go to the frame you want to use in the Storyboard and then press K to load it to the frame buffer.
Right-click a Grade bin thumbnail.
 "Show full-size image")
In the Storyboard, select the shot you are working on.
The shot appears in the Player.
To toggle between the reference image and the shot you are working on, press L.
Assign the shot you want to work on to Playhead A. Press F1 or select A from the Playhead button, and then select the shot in the Storyboard.

 "Show full-size image")
Press F2 or select B from the Playhead button.
The shot assigned to Playhead B appears.
Load the reference image to the frame buffer by doing one of the following:
Press K to load the current frame in the Storyboard to the frame buffer.
Right-click a Grade bin thumbnail.
Press L or click S to assign the reference image to Playhead B.

 "Show full-size image")
The reference image appears in the Player. At any time, press L to toggle between the original shot (O button) assigned to Playhead B and the reference image (S button).
Hint: If you want to use a shot from the Storyboard for reference, you can use the shot assigned to Playhead B. In this case, you do not need to load a reference image to the frame buffer.
Press F5 to enable split view.
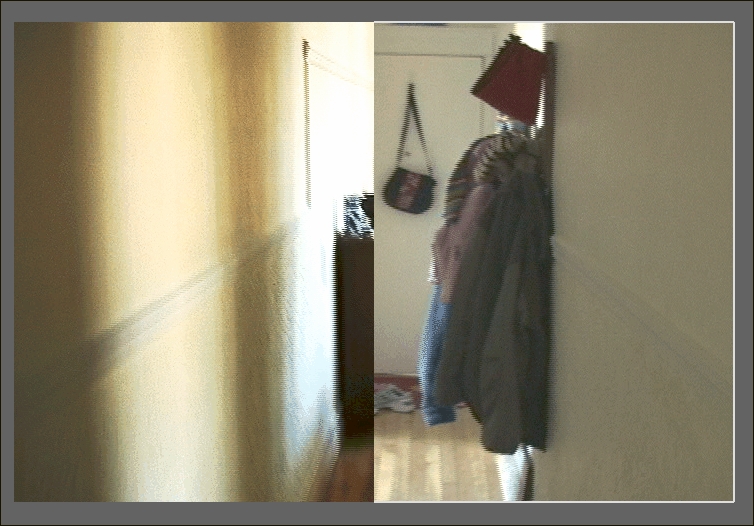
 "Show full-size image")
Press F4 to toggle horizontal and vertical split view.
The images assigned to Playhead A and Playhead B are displayed. Playhead A is currently selected and displays the shot you are working on. Playhead B displays the reference image.
Hint: Press F3 to view your reference image (Playhead B) and the shot you are working on (Playhead A) in separate viewers.
To work on the shot you assigned to Playhead A, press F1 or select A from the Playhead button.
The shot you are working on is selected. You can move back and forth between the shots in Playhead A and Playhead B by pressing F1 and F2 respectively.
While creating the Log to Lin conversion LUT, you can use the Pixel Analyser to sample the shot and compare the original and resulting colour values.
Click a pixel in the image.
Both the original (Pick In) and modified (Pick Out) colours are displayed simultaneously in the lower section of the Pixel Analyser. The RGB values for the selected pixel are also displayed.
 "Show full-size image")
Compare the colours in your shot to a set of reference values. View the reference image, and then place the mouse cursor over a pixel in the image without clicking it.
The original (Input) and modified (Output) colours in the reference image are displayed simultaneously in the upper section of the Pixel Analyser. If you click the reference image, the reference values will overwrite the previously sampled values.
 "Show full-size image")
When you convert logarithmic data to linear data with the Log to Lin conversion LUT, you can modify several settings from the Input LUT menu:
The reference white and reference black levels
The gamma of the incoming film footage
The softclip value--the degree to which the shoulder of the upper end of the conversion curves is softened
Reference white and reference black levels define the source white and black range. By default, reference white is set to 685 and reference black is set to 95. Using these values (which correspond with typical Kodak film stock results):
All incoming pixels with values between 685 and 1023 produce white pixels.
All incoming pixels with values between 1 and 95 produce black pixels.
You can modify the reference white and reference black levels for the red, green, and blue channels proportionally or independently.
In the Input LUT menu, enable the Log>Lin button.

 "Show full-size image")
To modify the red, green, and blue channels in the reference white or black levels proportionally, drag the White Level or Black Level slider.
 "Show full-size image")
While dragging, the reference white or black level is displayed in the slider.
To modify the red, green, and blue channels for the reference white or black levels independently, click the White Level tab or Black Level tab to expand the parameter, and then drag the Red, Green, or Blue slider.
 "Show full-size image")
While dragging, the reference white or black level of the selected channel is displayed in the slider.
Typically, the gamma of a film negative is 0.6. Only adjust this value if your film negative is of a non-standard gamma. You should not have to modify this value by very much. The Film Gamma values affect the gamma correction curve inversely.
In the Input LUT menu, enable the Log>Lin button.
 "Show full-size image")
To modify the red, green, and blue channels for the film gamma levels proportionally, drag the Film Gamma slider.
 "Show full-size image")
While dragging, the film gamma level is displayed in the slider.
To modify the red, green, and blue channels for the film gamma independently, click the Film Gamma tab and then drag the Red, Green, or Blue slider.
 "Show full-size image")
While dragging, the film gamma level for the selected channel is displayed in the slider.
You can soften the shoulder of the gamma correction curve by adjusting the softclip levels. When you soften the shoulder of the conversion curve, you soften the transition of colours toward the reference white value. This results in softer highlights in your shot.
In the Input LUT menu, enable the Log>Lin button.
 "Show full-size image")
To modify the red, green, and blue channels for the softclip levels proportionally, drag the Softclip slider.
 "Show full-size image")
While dragging, the softclip level is displayed in the slider.
To modify the red, green, and blue channels for the softclip levels independently, click the Softclip tab and then drag the Red, Green, or Blue slider.
 "Show full-size image")
While dragging, the softclip level for the selected channel is displayed in the slider.
