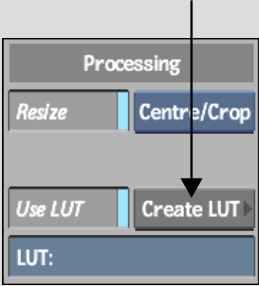
Accessing the LUT Editor from the Import Image Menu
Access the LUT Editor from the Import Image menu.
To access the LUT Editor from the Import Image menu:
Select a destination reel.
The Import Image menu appears.
The LUT field and Create LUT buttons appear.


When selecting a reference image, you load only a single frame (the first, by default). To select a different frame, switch to Proxies view mode and expand the image sequence by clicking on the proxy's expansion arrow.
The LUT Editor appears. When loading a large image, such as a 2K Cineon image, this can take a few moments.