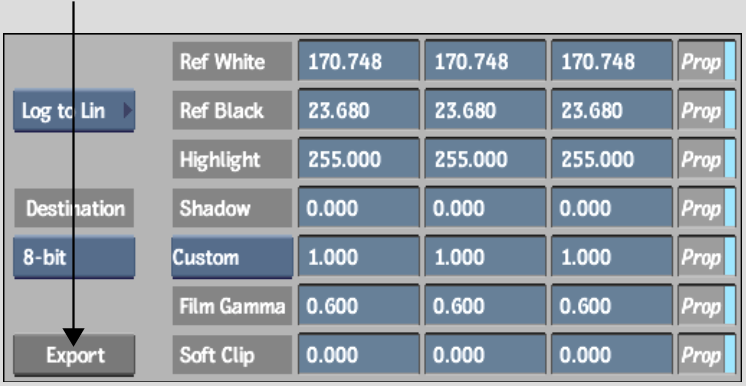
Once you complete your custom LUT, you can use it to convert images. To do so, you must first save or export it. Saving a LUT preserves its menu settings and automatically creates an invert LUT. A LUT's menu settings include values for its basic curves, as well as its advanced editing curves. Exporting combines the basic curves and the advanced editing curves into a single set of curves. However, exporting provides the opportunity to change the bit depth of the LUT. Both saved and exported LUTs are applied to an image sequence or a clip in Batch in the same manner.
When you export a LUT, the settings that correlate with the basic curves and the advanced editing curves are merged to create a single set of RGB conversion curves and the independence of these settings is lost. Whether you load or import the LUT afterwards, it appears as a basic conversion curve only. However, like all basic LUT types, you can then alter it, for example, by using the advanced editing curves.
Exported LUTs serve as a good interchange format for colour consistency between Autodesk and non-Autodesk products.
Exporting is useful when you want to change a LUT's bit depth. If you develop a LUT for importing 10-bit logarithmic film data, for example, you can easily convert it to work for 12-bit logarithmic data. When exporting a LUT, you can scale both the input and output bit depths.
To export a LUT:
If you accessed the LUT Editor from a node in Batch, select the node and display the LUT editing menu with which you created the LUT.


The Export LUT menu appears.


The LUT is exported to the specified location.