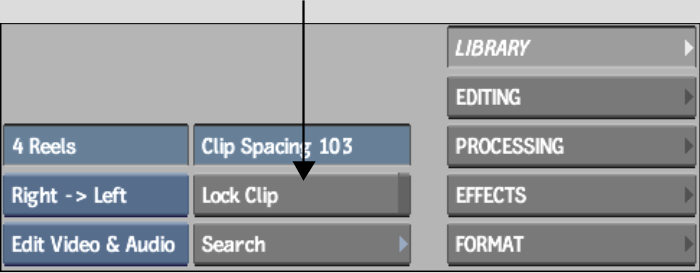
You can lock clips, reels, or desktops to prevent changes to them. Locking a clip prevents it from being deleted or edited (including unprocessed timewarps). You can save locked clips to a library, but their locked status is not maintained. You can also bypass a lock to delete a clip if necessary.
The procedures in this topic are not related to locking reels to selected clips.
To lock a clip on the desktop:


The selected clip, all clips on the same reel as the selected clip, or all clips on the desktop are locked. The clip's timecode or frame number display turns red, indicating a locked clip. If you try to edit or delete a locked clip, a message appears in the message bar indicating that the operation is not permitted.
To unlock a clip:
The timecode or frame number display turns white. To bypass the need to confirm, Alt+click the red frame number.
To delete a locked clip: