Show in Contents

Add to Favorites

Home: Inferno

Accessing the Filter Menu

Filters

Filter Library

Applying a Filter to a Clip
When
you apply a filter to a clip, you can control the level of filtering
applied. Decreasing the value reduces the filtering effect, while
increasing the value magnifies the filtering effect. You select
a filter from the filter library.
To
apply a filter to a clip:
- In
the Filter menu, click Load to open the filter library.
- Select
the filter you want to use from the filter library that appears.
The Filter menu returns. The name of the selected
filter appears in the Filter Title field.
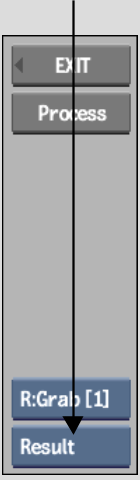
- Select
Result from the View box to preview the effect of the filter on
the source clip.
NoteSelect Front to view the source clip.
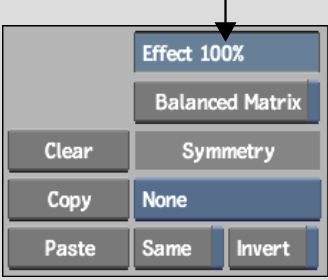
- Adjust
the value in the Effect field to get the level of filtering you
require.
- Click
Process to apply the filter to the clip.