Show in Contents

Add to Favorites

Home: Inferno

Resizing in Batch

Resizing in Batch

Resizing from a Clip

Resizing from an Import Node
When you import images to the Batch schematic,
the Import node includes resize settings. Using these resize settings:
- You
define resize settings at the very start of the processing pipeline.
- Unlike
using resize settings from the Import Image menu, you have access
to the crop box and you can animate resize settings.
- You
can lock the resize result to the crop box to animate the frame
size.
- You
can toggle the resize settings on and off.
To
access resize settings from an Import node:
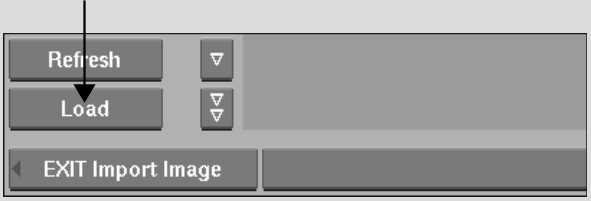
- Drag
an Import node to the Batch schematic.
The file browser appears.
- Use
the file browser to select the image sequence that you want to import.
- Click
Load.
A clip node appears on the Batch schematic.
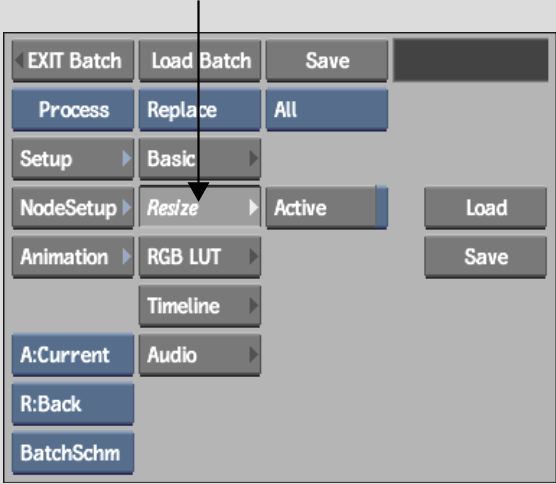
- Select
the clip to view its menu.
- Select
Resize.
The Resize menu appears.
By default, it is set to resize the clip to
the project's default resolution.
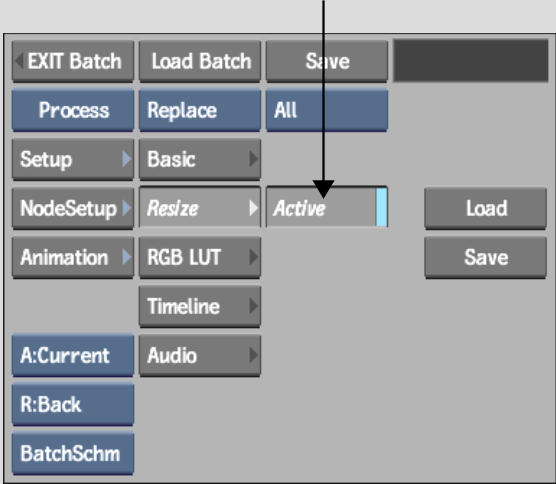
- Enable
Active.
- Set
the resize settings. See: