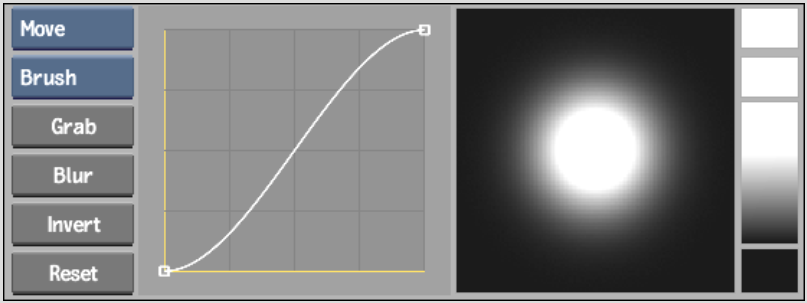
By default, there are two points that define the brush profile. For the following table and examples, these points will be named A and B as shown in the preceding illustration. To move the points that define the curve, select the Move option from the Profile box.
| Move: | To: |
|---|---|
| Point A up | Lighten the brush. |
| Point B down | Darken the brush. |
| Point A right | Harden the outer edge of the brush. |
| Point B left | Soften the middle of the brush. |
To move the points only on the X-axis, select the Xscale option from the Profile box. To move the points only on the Y-axis, select the Yscale option. To break a point and manipulate its tangent, select the Break option and click on a point.
To add points to the curve, select the Add option from the Profile box and click on the curve. To delete points from the curve, select the Delete option and click on one of the points on the curve.


Default S-shaped curve


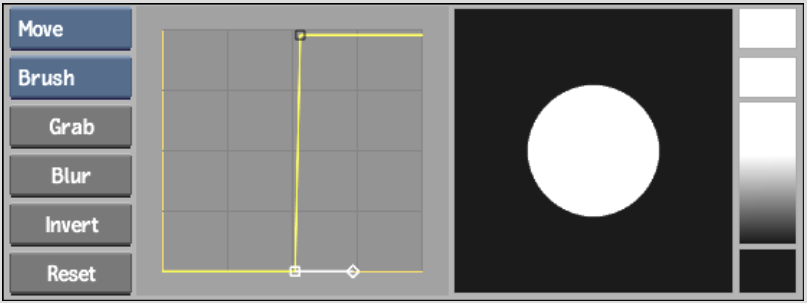
Hard edge curve


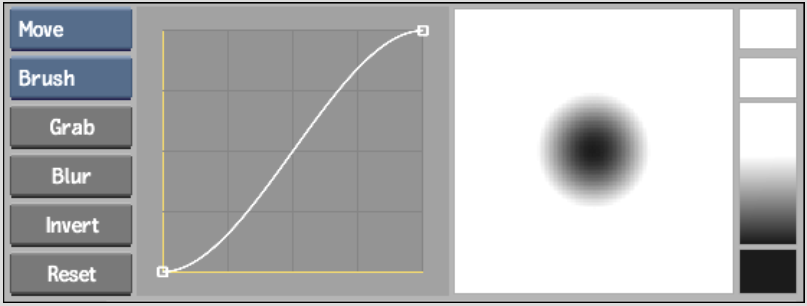
Invert brush curve


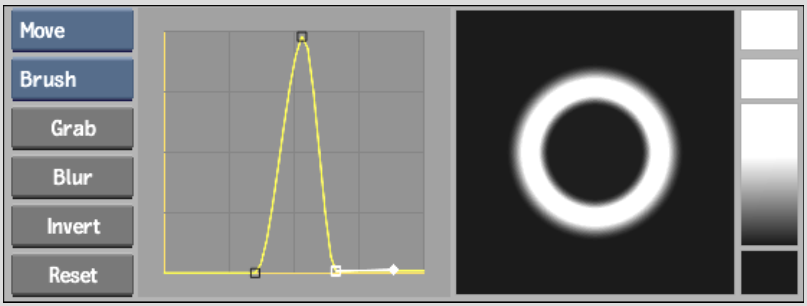
Ring-shaped brush curve