Show in Contents

Add to Favorites

Home: Flint

FBX Cameras

Importing and Exporting Cameras

Setting Camera Views

3ds Max Cameras
An alternative to animating a camera's position
is to import a camera animation from 3ds Max. 3ds Max camera animation
can be saved as a . 3DS or .ase (ASCII Scene Export) file in your
scene. While the .ase format contains only a camera's positional
data, the .3DS format contains the camera's position, point of interest,
roll and field of view values.
Once the camera is imported, you can edit any
of the camera's values and, if necessary, export it back to 3ds
Max in its native 3DS format using the Camera menu.
To
import a 3ds Max camera:
- In
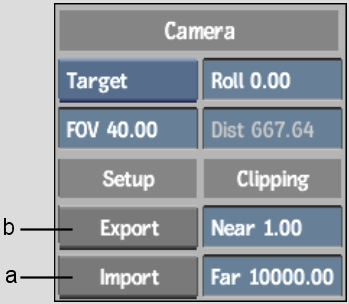
the Camera menu, click Import.
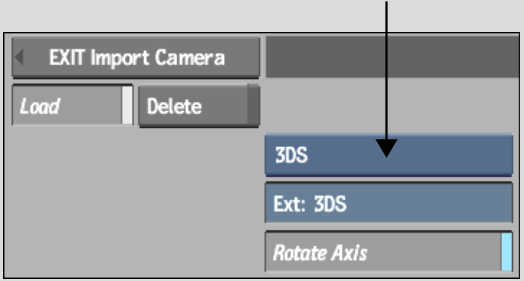
The Import Camera file browser appears.
- From
the Import Type box, select either the .3DS or .ase format.
- If
needed, enable Rotate Axis to rotate the imported camera by 90° on
the X-axis so that it is compatible with Action's coordinate
system.
- Navigate
to the location where a 3ds Max camera setup was exported, and select
the file.
You return to Action and the imported camera
is applied to your scene.
To
export a camera to 3ds Max format:
- Select
the camera you want to export.
- In
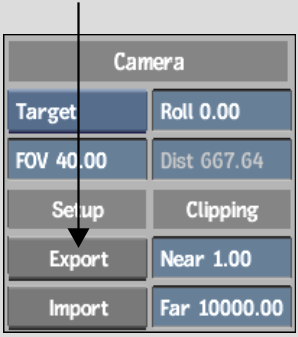
the Camera menu, click Export.
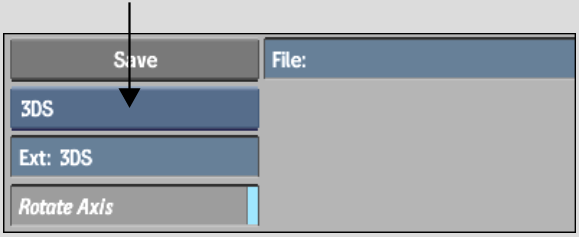
The Export Camera file browser appears.
- From
the Export Type box, select 3DS.
- If
needed, enable Rotate Axis to rotate the exported camera by -90° on
the X-axis so that it is compatible with the coordinate system of the
3D application.
- Navigate
to the location where you want to export the camera animation.
- Enter
a name for your exported camera in the file field.
- Click
Save.
NoteWhen exporting from Flint, save the
.3DS file in a directory that is readable by a 3ds Max system.


