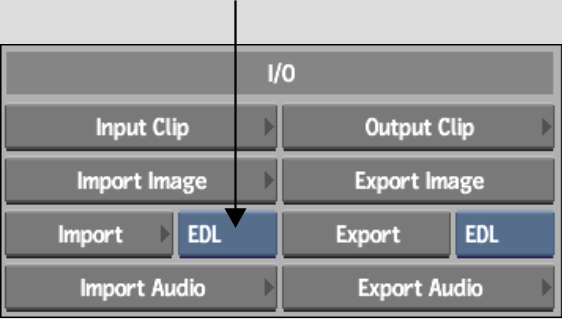
You can import as many EDLs as you want simultaneously. However, the EDL module displays only one EDL at a time. When you import an EDL, you have the option of converting the EDL to another frame rate, removing pulldown, and fixing timewarp errors. You can also import EDLs that reference material shot with Varicam. Since you can work in multiple resolutions in Flint, you also have the option of importing an EDL at a non-native project frame rate.
In addition to EDLs, you can import ALE files into the EDL module.
In addition to EDLs, you can import ALE, FLX, ATN, and TLC files into the EDL module.
Use DLEDLs where you need to import multiple media files in a single pass. Using DLEDLs in your post-production workflow allows you to automate the import of media files (video and audio) residing in different locations. Instead of performing media import for each file separately, you can create a DLEDL and import all media files in a single operation, which allows you to significantly save processing time.
To import an EDL:


The file browser and the Load EDL menu appear.


Files of the selected type appear in the file browser.


The Import EDL menu reappears.