Show in Contents

Add to Favorites

Home: Flint

Readjusting Colour After a Colour Correction

Colour Warper

Creating Subsetups

Removing Colour Spill
When you key clips
in the Keyer,
there can be colour spill. You can refine the key by suppressing
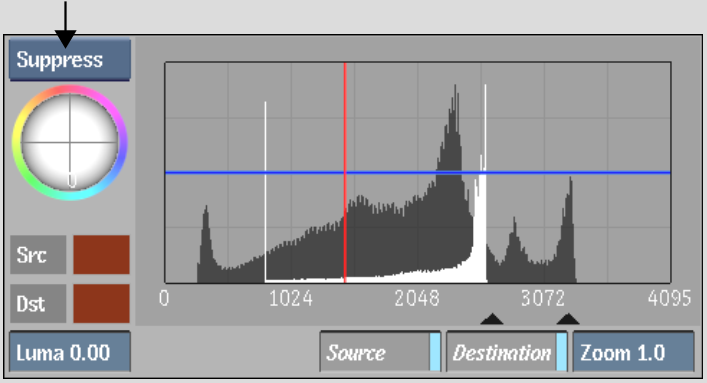
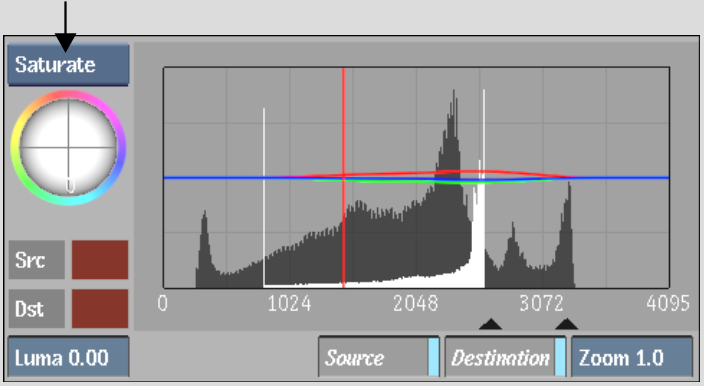
colour spill in the Colour Warper. Use the Saturate and Suppress trackballs
in the Basics menu. Use the Suppress trackball to suppress the colour
spill and the Saturate trackball to correct any unwanted colour
suppression. When you use these trackballs to modify colour in the
image or clip, a range of colour is affected.
If you are using the Colour
Warper in conjunction with the Keyer, you should connect the front
image or clip to the Colour Warper node and then connect the Colour
Warper node to the Keyer node in the Batch schematic.
To
remove a colour spill:
- Click
Basics to display the Basics menu.
- Select
Suppress from the Trackball option box.
NoteTo make the trackballs respond to changes
in pressure, use the Pointer preferences in the Preferences menu.
See
Pointer Preferences.
- Move
the Suppress trackball towards the colour that you want to suppress.
For example, to remove a blue background, move the trackball so
that the blue colours appear in the centre of the 2D vectorscope.
NoteThe colour you are suppressing appears in
the middle of the 2D vectorscope at full suppression.
By comparing the Result clip and the CurFront
clip, you may notice some unwanted colour suppression to the colour
that is opposite (on the colour wheel) the one you just suppressed.
You can fix such suppression with the Saturate trackball.
- Select
Saturate from the Trackball option box.
- Move
the Saturate trackball towards the colour that you want to saturate.
The colour that you are saturating moves closer
to the edge of the 2D vectorscope.
- It
may be necessary to adjust colours in the image using the Suppress
and Saturate trackballs several times to achieve suitable results.
Continue adjusting the trackballs until you are satisfied with the result.


