


Converting the 3D Auto Tracking Results
When you are satisfied with the results of the 3D auto tracking analysis, you can convert the selected reconstructed points to actual axes in your scene.
To create axes from the 3D tracking results:


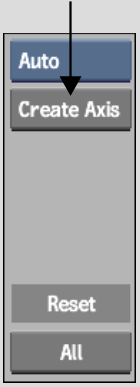
Selected points are converted to axes with a parent Axis called Points_3dt_sync. The axes synchronize to the results of your auto 3D tracking, and any further changes you make to the 3D track are reflected in these axes.
Remember that it is the camera that is moving and not the points in the clip. You can attach objects such as surfaces, 3D text, and 3D models to the new axes to help position them in 3D space.
You can export the newly created camera, as well as the axes and points created from the 3D tracker analysis, to .fbx format for use in other 3D applications. See FBX Cameras.