In the image window of the Modular Keyer, Distort, Action and Resize, you can view the reference area with the currently displayed clip. A split bar divides the view between the current clip display (above the bar) and the reference area. The reference area can either display one of the current module's working clips (for example, front, back, or matte), or one of the reference frames that you grab on-the-fly.
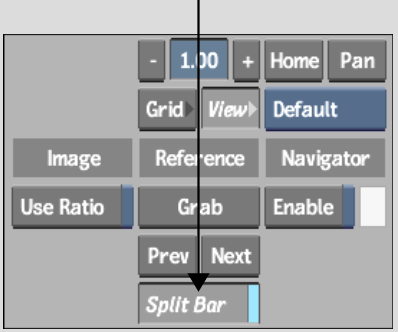
Turn on the split bar from the View menu or by using a hot key in any module where you can view reference frames.
To turn on the split bar:


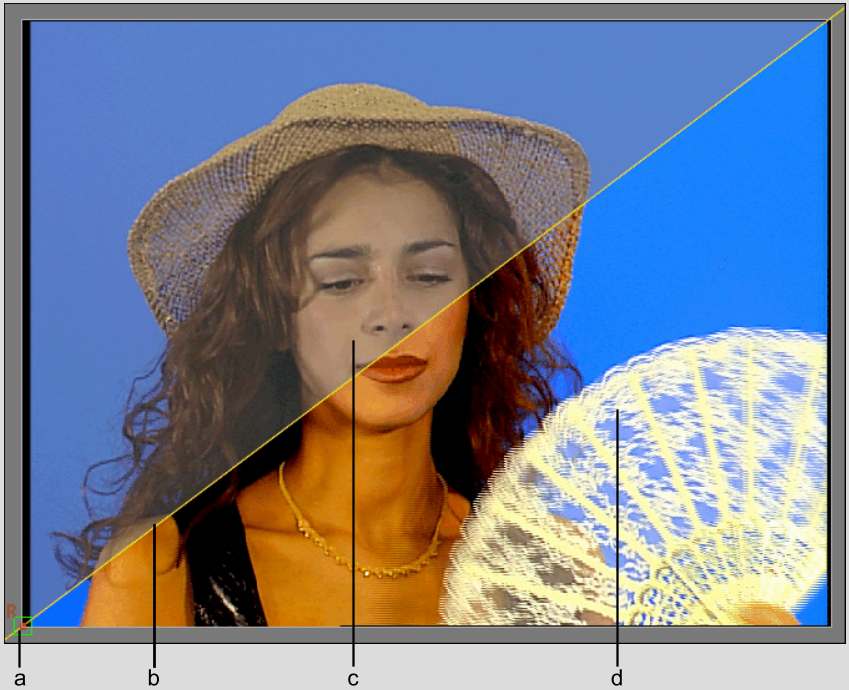
When the split bar is on, by default it lies along the lower edge of the image window.
The split bar has a pivot point (indicated by a small box) around which the split bar can be rotated, or from which the split bar can be moved. The letter R next to the pivot box indicates the side of the bar where the reference clip is displayed.


(a) Pivot point (b) Split bar (c) Current display (d) Reference display
Rotate and move the split bar using these techniques:
Showing and Hiding the Split Bar
When the split bar is on, you can show or hide it in the image window.
To show or hide the split bar:
When the split bar is hidden, it is still active. The letter R is displayed indicating the location of the reference clip.
Loading a Clip into the Reference Area
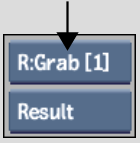
You can display one of the module's clip views in the reference area. For example, turn on the split bar to show the reference area, and then display the matte of Action media while working on its result.
To load a clip into the reference area:


Storing Reference Frames in the Reference Buffer
Flame has a graphics buffer that is dedicated to storing reference frames. In Distort, the Modular Keyer, Action, Batch, the Colour Corrector, and Resize, you can display these frames in the reference area to compare the current result of a clip with a snapshot that you took earlier in the creative process.
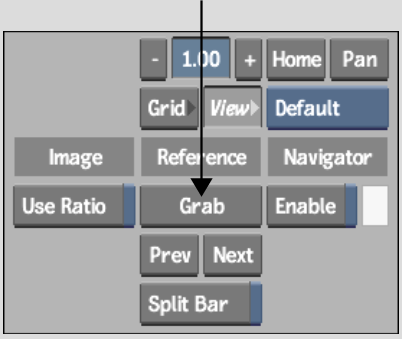
You can grab any number of reference frames in the reference area, limited only by framestore space.
To store reference frames in the reference area:


The current frame appears in the reference area.
Cycling Through Multiple Reference Frames
When you work with several frames stored in the reference buffer, you can cycle their display in the reference area.
To cycle through multiple reference frames:
To cycle through multiple reference frames using the reference overlay: