You can export clips containing images, video, and audio to be encoded by Cleaner XL into one of a variety of formats, using the Export Image menu.
You can also export media clips from the Output node in Batch for Cleaner XL encoding. See Outputting Media to Cleaner XL.
You can export clips containing soft-imported segments, including images (SGI, DPX, JPEG, TIFF, Targa, and Cineon) and audio (AIFF and WAV), for encoding using Cleaner XL. All soft-imported images and audio in the clip must be of the same file type, for example, all TIFF files and all AIFF files. If there are different types of soft-imported files, the clip will not be encoded by Cleaner XL. In this case you should use the Stonifise tool before exporting. See Writing Media to the Framestore Using the Stonifise Tool.
Note the following considerations when encoding with Cleaner XL:
To encode media from Flame with Cleaner XL:
You can also do this from the desktop. See Exporting Image Files.
The Export Image menu and file browser appear.
The Cleaner Export menu appears.


(a) Name field (b) Output Profile field (c) Output Profile Description field (d) Destination Path field (e) E-mail Notification field
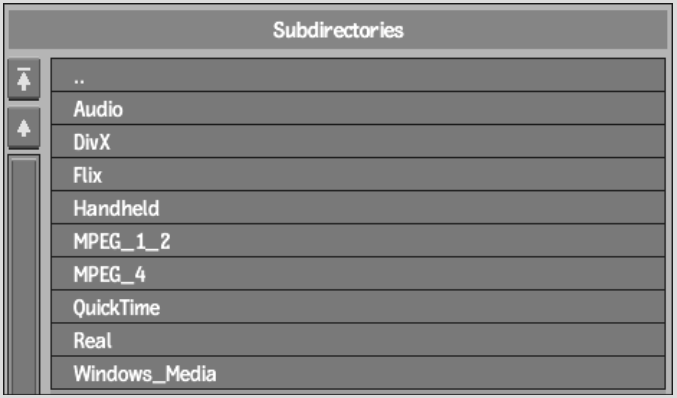
The file browser appears displaying directories containing output profiles.
You can select an output profile, which indicates what format to encode to and related parameters. For example, you can output a QuickTime movie in NTSC for streaming to DSL.


Output profiles are divided by output file format, with audio only profiles in their own directory.
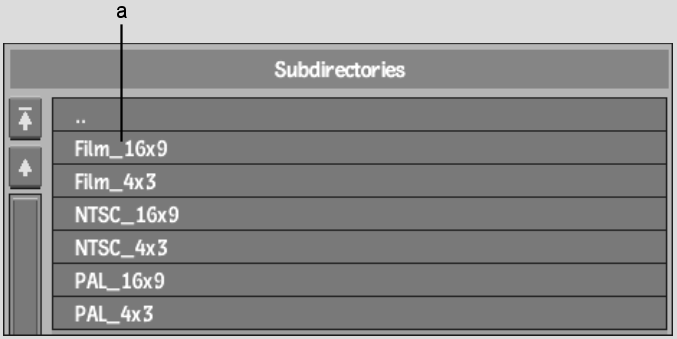
Depending on the format you select, output profiles may be further subdivided by category. The Handheld directory contains all the profiles for handheld devices, such as Palm® and Kinoma®. The audio directory is further subdivided by output file format, such as MP3, QuickTime, and Windows Media®. All other directories are subdivided by output format, such as Film, NTSC, or PAL, and by aspect ratio, such as 4:3 or 16:9.


(a) QuickTime Output Profiles divided by output format and aspect ratio
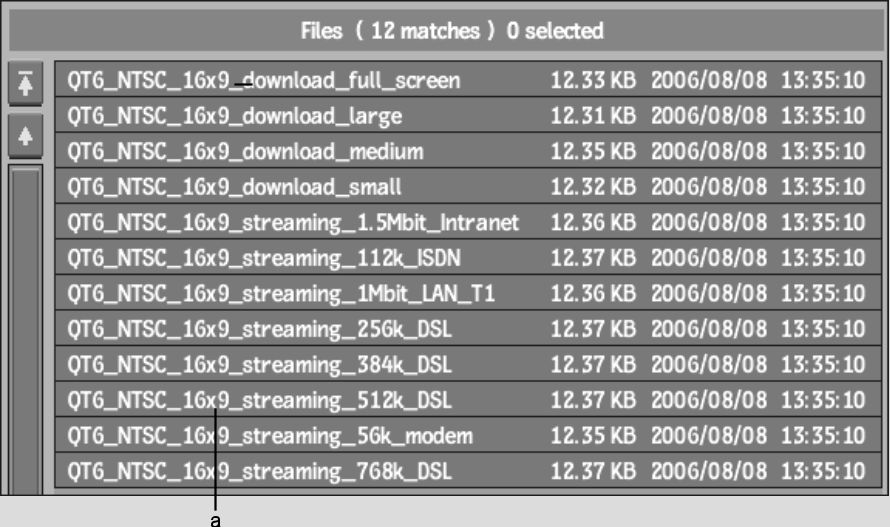
Output profiles appear in the file browser.


(a) QuickTime Output Profiles for NTSC, with a 16x9 aspect ratio
You are returned to the Cleaner Export menu.
The name of the output profile you chose appears in the Output Profile field, and its description appears in the Output Profile Description field.


(a) Output Profile field (b) Output Profile Description
When the job is done, a notification message is sent to this address.
The job is sent to the Cleaner XL render node where it is encoded, using the parameters in the output profile that you selected, and saved in the destination folder on that render node.