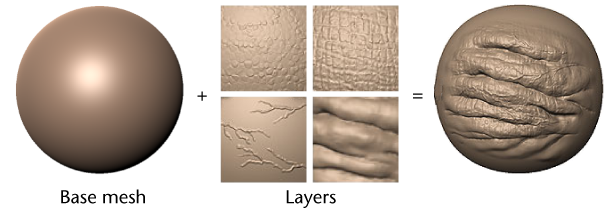
Sculpt layers let you organize your sculpting and combine forms and details in a non-destructive manner. You can create a layer and then sculpt so that only the new details appear on the new layer. To modify your sculpting on that layer you can either perform additional sculpting or remove the layer without affecting details on the base mesh. Sculpt layers combine in an additive manner. They behave much like layer systems in 2D image editing applications such as Photoshop®, but record 3D sculpting information.

When sculpting on a layer, Mudbox calculates the difference between the position of vertices after a tool stroke and their original position on the base mesh. Only the difference in position (the delta) is stored on the layer. This delta is added to the base mesh and to the deltas stored in all the other layers to arrive at the final shape of the model. Because the sculpt layers combine in an additive manner, the order of layers is not important to the final result.
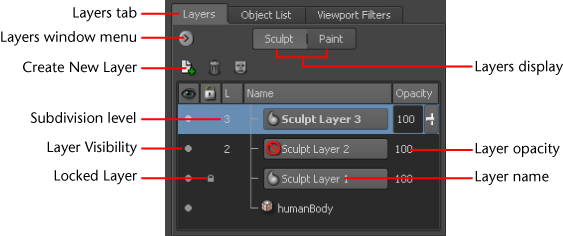
You manage paint layers using the Layers window, by selecting the Paint display button.

The Layers window
menu ( ![]() ) contains
all the commands for managing sculpt and paint layers. New layers
are inserted directly above the current active layer.
) contains
all the commands for managing sculpt and paint layers. New layers
are inserted directly above the current active layer.