In the following steps, you alter leaf and bud colors of a preset brush; fern.mel.
Tip
When using the fern.mel brush, if any of the sliders do not appear, or appear cut off on the right, you need to increase the
screen display resolution setting on your monitor to 1280 X 1024.
To change the color of a brush
- In the (), click folder, and select the fern.mel preset brush.
- Paint on the canvas to see the default display.
Because fern.mel uses tubes, ferns grow along the path of your stroke.
- Resize the brush to a of about 0.5 () and paint on the canvas.
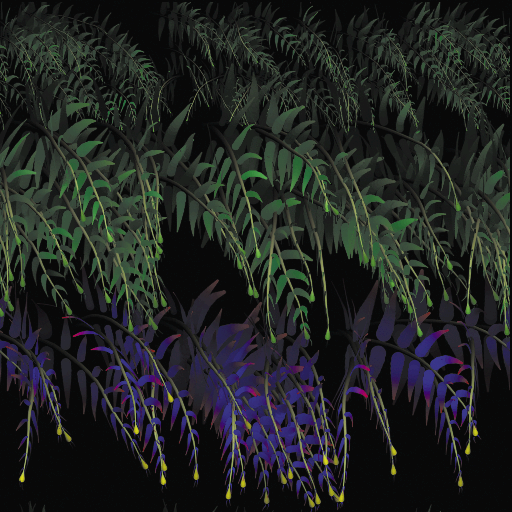
- On the toolbar, click the L1 color box (Leaf Color 1), select a shade of blue from the .
Move your mouse off the to close it.
L1 sets the color of the base of the leaves.
- Click the L2 color box (Leaf Color 2) and select a shade of red from the .
L2 sets the color of the tips of the leaves.
- Click the B color box (Bud Color) and select a shade of yellow from the . B sets the color of the flower buds.
- Paint on the canvas and observe how the changes you’ve made to the settings affect the final paint effect.
Tip
You can change the path width of fern.mel without changing the width of the leaves and stems. Select to display the window, then in the section, change the value of . Similarly, you can alter the path width for any other preset strokes with tubes.
- Clear the canvas ().