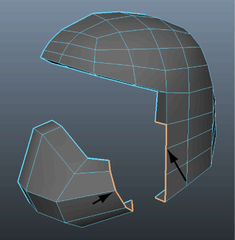
Next you’ll connect the lower front region to the helmet mesh. You can create meshes that bridge between one or more border edges of a mesh using the Bridge feature (Edit Mesh > Bridge).
When using the bridge feature you must ensure that:
To combine the two meshes into one
The two meshes are combined into one. When you select either object now, the other is also selected because they are in the same mesh.
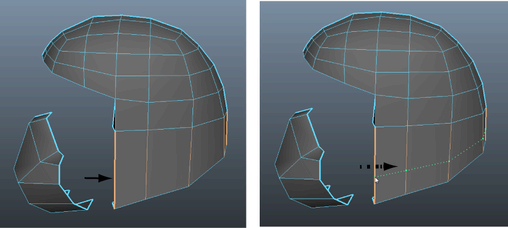
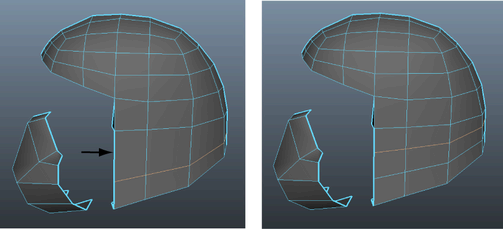
The edge of the mesh on the lower front region of the helmet is comprised of five edges. The corresponding region on the side region of the helmet only has three. You can increase the number of edges on the lower side region by inserting two edge loops across the mesh. Inserting two edge loops in this region of the mesh also divides the large faces so they better match the size of the other faces on the rest of the mesh.
To insert edge loops on the side region of the helmet
 .
.
Click-dragging an edge when using the Relative option inserts an edge loop that closely matches the existing edge layout on the mesh. That is, the lower region of the mesh is much wider near the front than at the rear. The Relative setting adjusts the position of the edge loop locator based on this topology so is ideal in these situations. When you click-drag using the Relative option, remember to click near the edge whose layout you want the edge loop to match.


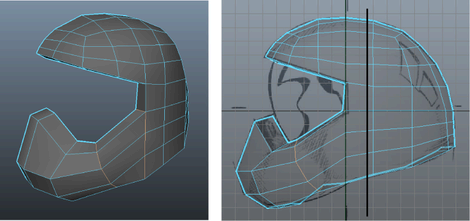
Now that you’ve inserted the necessary edges, you can proceed with creating the bridge.
To bridge between the lower front and side region of the helmet

 .
.

If this occurs you must undo your steps to the point immediately before you combined the two meshes and then reverse the surface normals on only the lower front section by selecting it and then selecting Normals > Reverse. You can then redo the instructions in this section as required.
To prepare for the next part of the tutorial, open the Helmet3.mb scene (File > Open Scene) or continue working with the current scene.