Importing assets to dress a scene


If you open the Outliner, you can see that this scene has already been organized into assets (the buildings and the animated police car). Now you can add some lightposts to make the city more believable.

To add lightposts to the scene

  1. Select File > Import.

    A File Browser appears.

  2. Navigate to the assets directory and select lightpost.mb.
  3. Click Import.

    The lightpost is imported into the scene.

  4. Select the lightpost and open the Channel Box.
  5. In the lightpost_AST section, set the translate values to -637, 0.85, -72.

    You can now duplicate this lightpost container to set up more lightposts in regular intervals across your scene.
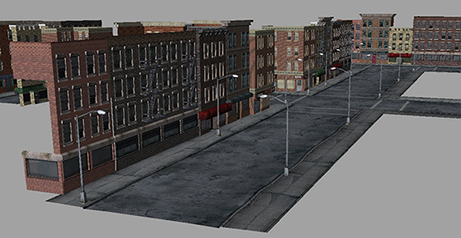
To clean up the Outliner, you can select all the lightpost containers and place them all in a single asset as well.

To create an asset for all the lightposts

ImportantIn Maya 2013, you cannot create multiple objects and place them in a single asset.
  1. Select all the lightpost assets in the Outliner.
  2. Select Assets > Create Asset with Transform > .

    The Create Asset with Transform options window appears.

  3. In the Create Asset with Transform options window, select Edit > Reset Settings.
  4. Under the Include Options, turn on Include Shading Network.
  5. Click Apply and Close.

    Maya encapsulates all the lightpost assets into a single asset.

  6. In the Outliner, change the name of the asset to All_lightposts_AST.