To have nHair that collides with a surface, such as character's head or body geometry, the hair system must be created on polygonal surfaces. When you create an nHair system, you can choose to place the hair follicles according to the object's UV set map, or you can assign hair to selected polygon faces. For this tutorial, you select faces on a polygon model and assign hair to these locations.
In this section of the lesson, you create hair on a polygon model. You also convert the head model to a passive collision object so that it collides with the hair.
To create nHair on the model's surface

 -click the head mesh and select Face from the marking menu that appears.
To resize the paint selection brush, press b and drag the left mouse button.
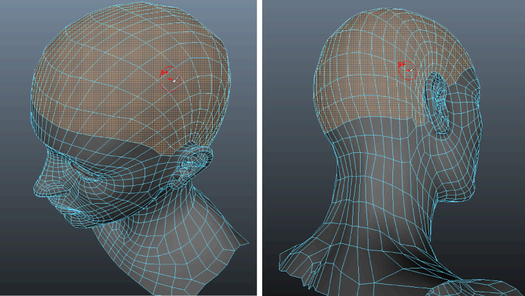
 .
.
This sets the number of segments per hair. More segments are needed to make long hair look natural or to create complex short hairstyles. As you increase the number of segments, you decrease the performance (speed) of the simulation.

The hair is attached to the selected polygon faces of the model's scalp region. Notice that the first frame displays the hair curves sticking out normal to the polygon surface. This is the Start Position of the hair. You should only edit the hair curves while nHair is in the Start Position. You can also see red markers on the polygon surface, indicating the placement of the dynamics curve follicles.
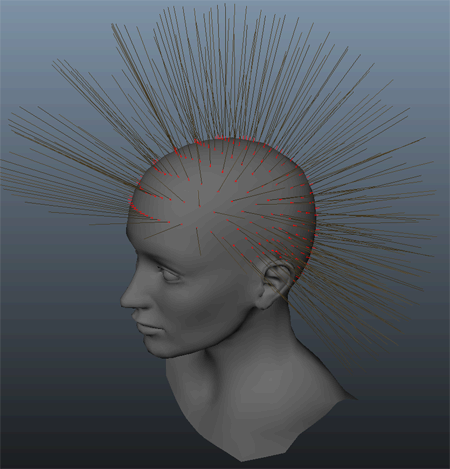
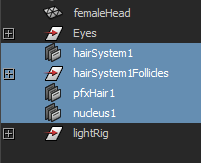
In the Outliner, the following new nodes appear:
The curves react to the force of Nucleus gravity and begin to fall to a natural state. During any simulated frame, the hair is in its dynamic position, known as the Current Position.
Notice that instead of colliding with the head model, the hair curves continue to fall and penetrate the model's surface. This occurs because the model is not a Nucleus object. nHair only collides with other Nucleus objects, such as nCloth, nParticles and passive collision objects that are assigned to the same solver. In the next step, you convert the head model to a passive collision object.
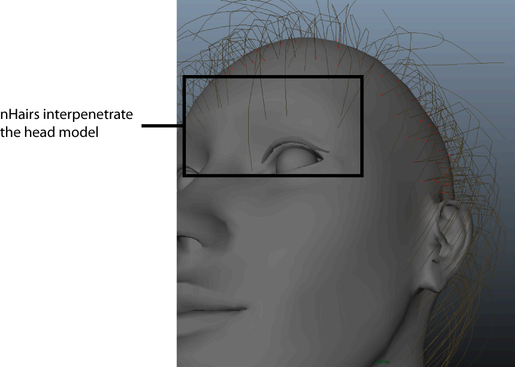
To create a passive collision object
 -click the head mesh and select Object Mode from the marking menu that appears.
The head model is converted to passive collision object and a new nRigid node appears in the Outliner.
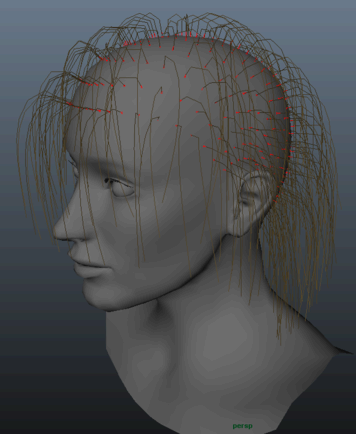
The hairs curves now collide with the head model surface similar to the way real hair makes contact with a person's head, face, and neck.
In the next section of the lesson, you modify nHair attributes to increase the hair thickness and add curl to make it look more realistic.