Assigning a Paint Effects brush to the hair


You can assign a Paint Effects brush to a hair system to achieve a variety of effects. In these next steps, you apply the red beads brush to the hair system to create the beaded curtain. Then you modify the brush and hair system settings to achieve the desired look.

To turn the hair curtain into a beaded curtain
  1. Rewind the simulation to the start frame.
  2. In the Outliner, select the hairSystem node or drag around the hair curves in the scene and select nHair > Convert Selection > To Hair Systems.
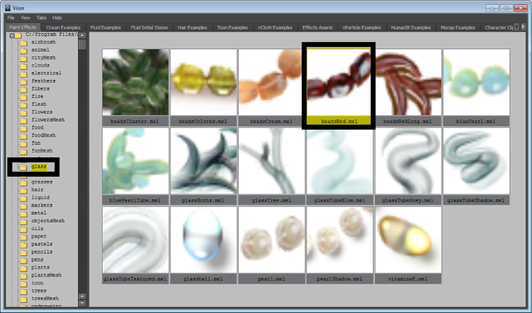
  3. Open the Visor by selecting Window > General Editors > Visor.

    The Visor window appears.

  4. In the Visor window, click the glass folder and select the beadsRed.mel brush.
  5. Select nHair > Assign Paint Effects Brush to Hair.

    You don’t see the beads in the scene view, but you will when you render it later using the mental ray for Maya renderer. The brush needs some adjustments to make it look like a beaded curtain when it is rendered.
  6. In the Attribute Editor, click the hairSystemShape1 tab.
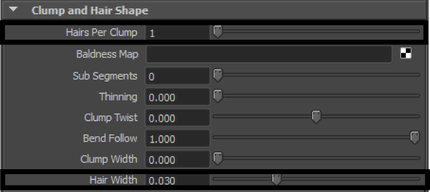
  7. In the Clump and Hair Shape section of the Attribute Editor, set the following:
    • Hairs Per Clump to 1.

      This creates a single strand of beads at each follicle.

    • Hair Width to 0.03
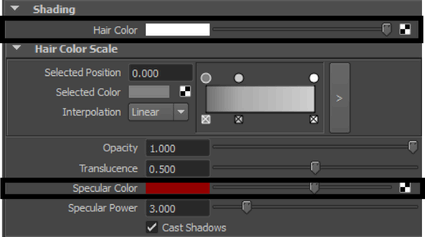
  8. In the Shading section, do the following:
    • Click the Hair Color swatch and select white from the Color Chooser.

      This sets the brush's color to white.

    • Click the Specular Color swatch and select red from the Color Chooser.
  9. In the Displacements section, set Noise to 0.5.

    Noise adds some randomization to the appearance of the beads.

  10. In the Attribute Editor click the beadsRed tab.

    If the beadsRed tab does not appear in the Attribute Editor, re-select the hair curves. The beadsRed tab should now appear.
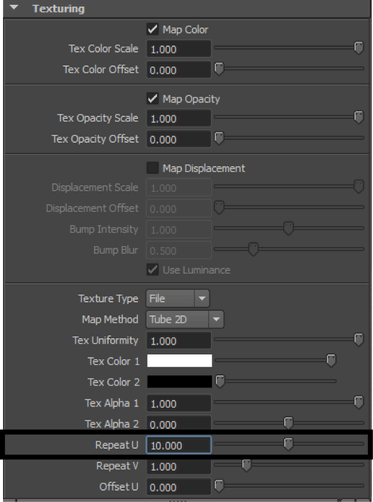
  11. In the Texturing section, set RepeatU to 10.

    This changes the size of the beads making them appear more realistic in the rendered output.

    Before you can render in mental ray for Maya, you must convert Paint Effects to polygons.

  12. Drag around the hair curves to select the hair system and select Modify > Convert > Paint Effects to Polygons.

    In the next section of the lesson, you render a single frame of your simulation.