When you modify hair attributes, many of these changes are not visible in the scene view and you must render the hair. Rendering the nHair allows you to see which aspects of the hair style need work to make it look more realistic.
Before rendering the nHair, you can set the Start Position, which is also known initial state, of the simulation. In this case, you want the simulation to begin after Gravity acts on nHair curves and they come to a settled state. In this section of the lesson, you set the Start Position of the curves so that are at rest in the first frame of the simulation.
You may need to repeat steps 1 to 5 until the nHair is completely settled at the start frame
In the next section of the lesson, you render a single frame of your nHair simulation.
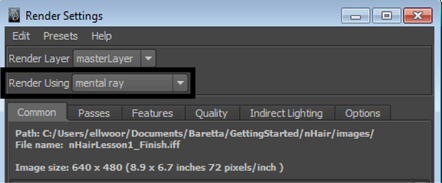
Before rendering, be sure to set the appropriate Render Settings.
To turn on the mental ray for Maya renderer

To render the hair using the mental ray for Maya renderer
 icon.
icon.
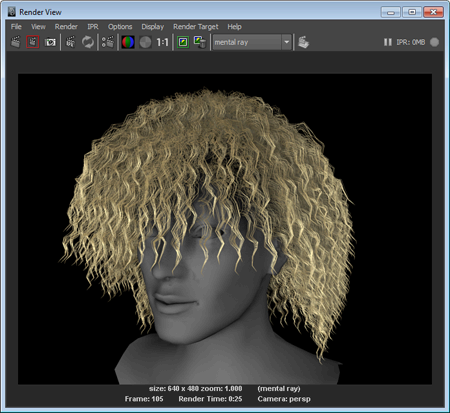
The hair model is rendered using the mental ray for Maya renderer. Your rendered hair model should look something like the image below.
