The Hypergraph is a window that shows how the nodes and their connections are organized in your scene. You view object hierarchies and dependencies in the Hypergraph. Use the Hypergraph to view what happens when you group an object.
The scene view splits into two viewing panels - each has their own separate Panel menu. You will set these to view the scene in the upper view and the Hypergraph in the other.
The Hypergraph panel will display below the scene view panel.
The Hypergraph displays the hierarchy for all of the objects in the scene. This approach to viewing the entities in the scene provides a very graphical approach to viewing all of the various nodes in your scene.

In the Hypergraph, each node is represented as a rectangle labelled with an icon that denotes the type of information it represents (for example, surface, shading, and so on). Each node has a unique name assigned to it when it is first created. When you rename your objects, you are actually renaming the node associated with that object.
Some nodes display with a line connecting them. This denotes that they are in a hierarchy and have a dependency structure based on how they were originally grouped.
For the temple’s column objects, the hierarchy displays each of the named objects under a node labelled group1. Group1 is the parent node for this hierarchy of objects.
In Maya, when the parent node (sometimes referred to as the root node) is moved, rotated, or scaled in any way, the child nodes (sometimes referred to as the leaf nodes) underneath are also affected.
When you select objects at the top level of a hierarchy and move them, the objects within the hierarchy or group follow.
To rename the parent node in the Hypergraph
In the scene view, all of the objects in the column group become selected as a result of selecting the group at the top (parent) level of the hierarchy.
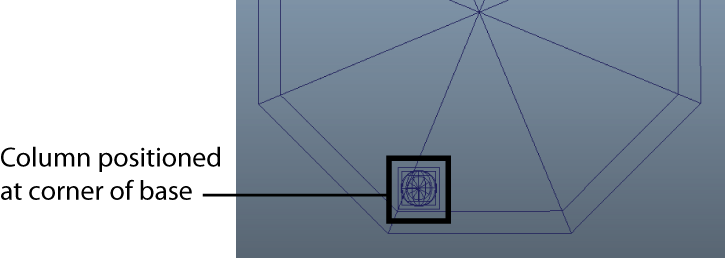
Now that the column is grouped, you need to position it at one corner of the temple base.
To position the column on the temple base
This is a keyboard shortcut. Instead of selecting the item from the menu you can use a single key to implement the command.
Many of the tools and features in Maya can be accessed using keyboard shortcuts. In Maya, these shortcuts are called Hotkeys. Some Hotkeys are displayed directly beside the menu item, others are listed in the Hotkey Editor. For a complete listing of available hotkeys, go to Window > Settings/Preferences > Hotkey Editor.

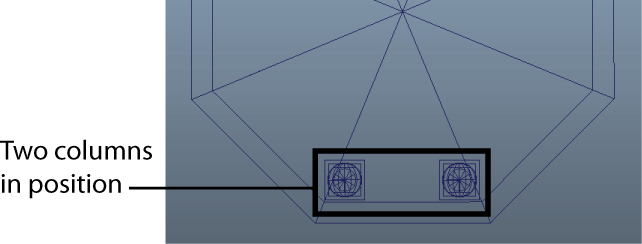
With your first column in position, you can now create a copy of the column and position it on the adjacent corner of the base.
To create a duplicate copy of the column
 from the main menu.
The Hypergraph view updates to show an additional column object in the scene. The copy also takes on the prefix name of the original group and is now labelled Column1.
In the scene view it appears that nothing was actually duplicated. When an object is duplicated without any transformations the copy is positioned in the same position as the original. The two objects are on top of each other.
You need to move the column into position on the adjacent corner of the temple base.
To move the duplicate column into position on the base

The workspace changes to a four view layout and the Hypergraph is no longer displayed.
 Except where otherwise noted, this work is licensed under a Creative Commons Attribution-NonCommercial-ShareAlike 3.0 Unported License