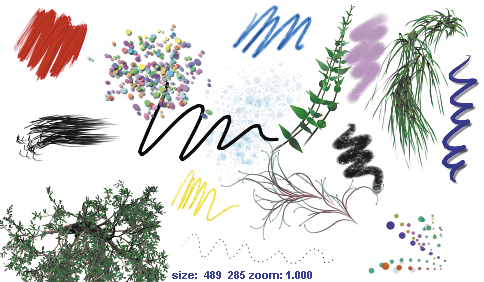
In the following steps, you display the 2D canvas and use preset brushes to paint a few strokes.
Although not covered in this lesson, you can use a tablet and stylus to paint with pressure sensitivity. The harder you press down, the more paint is applied.
To paint strokes on the 2D canvas
You’re ready to start painting. It is not possible to display a grid on the canvas.

When you first display the Paint Effects panel, your strokes use the default brush—a solid black stroke similar to an airbrush.

The Visor organizes the hundreds of Paint Effects brushes into category folders. In the Visor, click a folder, then click a brush icon in the area to the right of the folders. (The name of each preset brush has the extension .mel because each is a MEL script that establishes the brush’s operation characteristics.) You can dolly within the Visor window to enlarge the viewable size of the brush icons and read the names more clearly.
You can copy a brush or all brushes within a folder to the Shelf. Use the middle mouse button to drag the brush or folder to the Shelf. Use the Shelf Editor (Window > Settings/Preferences > Shelf Editor) to remove items from the shelf.

Some brushes apply paint directly along the paint path, while others produce added effects. For example, the pens folder includes brushes such as ballpointRed.mel that work like pens, while the flowers folder includes brushes such as dahliaPink.mel that grow flowers as you drag the mouse. Brushes like dahliaPink.mel use Paint Effects tubes.
When you paint a stroke slowly, the density of flowers is higher than when you paint quickly. The effect of stroke speed on density works the same for all brushes that use tubes.
When displaying the 2D canvas, you can undo only a single stroke. Edit > Undo (on the main menu) doesn’t undo strokes.

 Except where otherwise noted, this work is licensed under a Creative Commons Attribution-NonCommercial-ShareAlike 3.0 Unported License