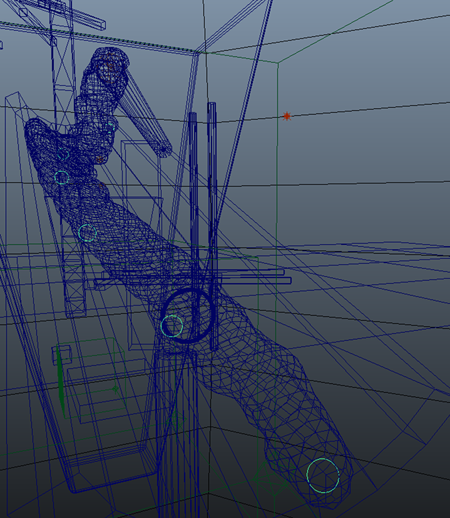
For a realistic simulation, the sparks need to appear randomly, not in a single steady stream. At the same time, the sparks need to appear to be produced by the collision between molten slag and the cooler slag chute. Creating too many sparks can easily make the simulation look too staged and unrealistic.
To create these conditions, you might use particle expressions, but in this lesson you will use only nParticle attributes. This means that only a few particles are required and they must appear stationary at various locations along the chute. Also, they must not self-collide nor be visible in the simulation, but still participate in the effect.
Since this nParticle object needs to be in the scene just long enough to emit a burst of sparks, you give it a short Lifespan.
Although the individual nParticles in this system will not be close enough to collide, turning off Self Collide saves the Nucleus solver from calculating these collision iterations.
This attribute keeps nParticles from self-colliding while being emitted. A value of 1 guarantees that no self collisions occur with other particles on emission. This value ensures that only a few, evenly spaced particles are emitted from the collision event.
A good number of particles are created on the chute, spread out evenly along its length. Notice however that the particles move down the chute with the slag. Since these nParticles will emit other nParticles, they need to remain fixed to the chute.

With gravity disabled on the object, the nParticles remain fixed at various along the slag chute. These locations will emit the nParticle sparks.

Next, you will create and adjust nParticles to simulate the flying sparks.
 Except where otherwise noted, this work is licensed under a Creative Commons Attribution-NonCommercial-ShareAlike 3.0 Unported License