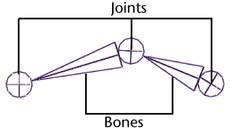
To link the various components of the mechanical arm into a hierarchy that can be posed, you need to create a skeleton. A skeleton is a hierarchy of joints that are connected together with bones.
In the scene, a joint represents a special type of node that gets created in a skeleton hierarchy. A joint acts as the parent node for any other joints that occur in the hierarchy below it. Each joint has a rotational pivot point associated with it. A bone is the visual representation used in the scene view to connect the joints and help visualize the joint chain.
A skeleton is similar to a skeleton in the real world in that it acts as the underlying structure for the surfaces to be attached. While you can view the skeleton with its bones and joints in the scene view, it does not appear in your rendered images. Its purpose is to assist you in setting up and posing your models and characters and to visualize the motion you want to achieve.
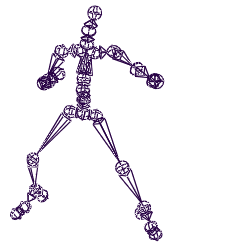
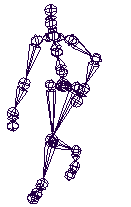
Skeletons are integral to the animation of any character or hierarchical model. Examples of characters that use skeletons are two and four legged animals. Skeletons are also useful for animating other organic components such as the tail of an animal, a tentacle of an octopus, or a snake.
In the following steps, you create a simple skeleton consisting of four joints that you combine with the mechanical arm model into a skeleton hierarchy, allowing you to pose and animate the model.
To create a skeleton for the mechanical arm
The view updates to display the side view.
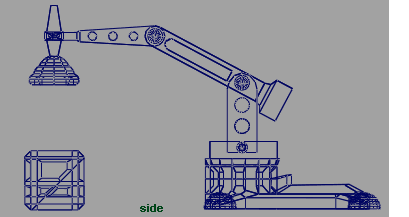
You need to view the components of the mechanical arm fully in the side view so you can draw the joints for the skeleton.
 .
.
The Tool Settings window for the Joint Tool appears. The Joint Tool is used to create the joints and bones for a skeleton.
Try to click as close to the center of each pivot pin as you can, as the rotation of the joints on the model will be based on the location of the joints on the skeleton. As you place the joints, a bone appears, connecting each joint. (Because the model lies along the YZ plane, the joints are created close to the center of each corresponding joint on the mechanical arm model.)
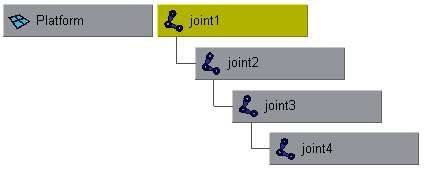
The entire skeleton becomes selected. Any rotations on this node also affect anything lower down the hierarchy.
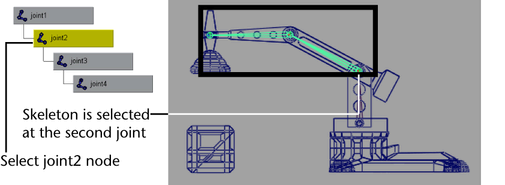
The skeleton is selected from joint2 downwards in the hierarchy. Any rotations that you make on this node affect only joint2 and nodes below joint2.
Once a skeletal hierarchy is created, the various surface components can be added to the hierarchy.