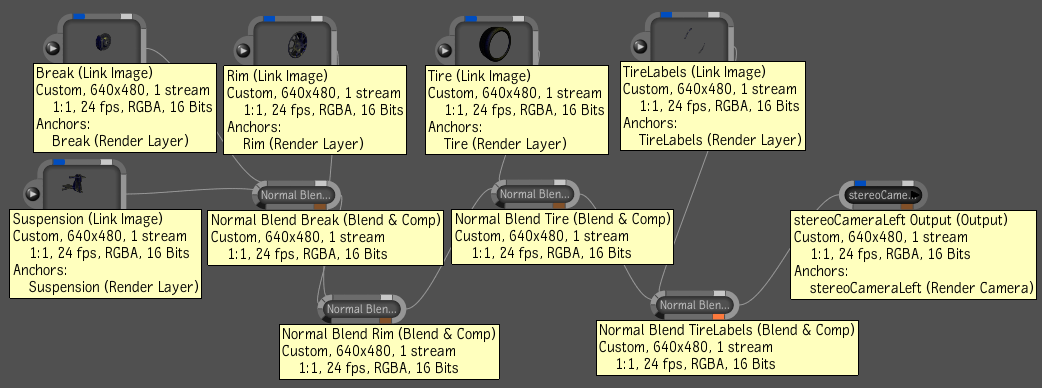
In a scene, there are unique anchors for the following elements: render layers, render passes, and cameras. Anchors identify these elements in the resulting Composite composition that is created after importing a 3D scene.
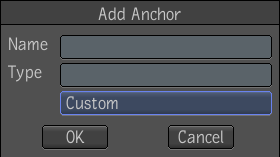
One or more anchors can be associated with any node in a dependency graph. You can add, remove, and edit anchors. You can also view a node's list of anchors. When a node has an associated anchor, the anchor tab at the upper-left of the node turns blue.

In a pre-compositing scene, each render pass is uniquely identified by a render pass anchor. The same applies to render layers/render pass anchors and cameras/camera anchors.The various anchor names in the 3D application are used by Composite during the import of pre-comp files. The anchors are used to locate the entry points for each type of 3D asset in the resulting Composite compositions. For information about viewing, editing, adding and removing anchors, see Working with Pre-Compositing Anchors.
Camera anchors are specifically set on composition output nodes and on the output socket of link nodes identify each camera view of a stereo setup. Also, anchors are crucial to the update process, so they should not be changed. It is also important to have properly defined anchors in the composition templates—see Creating a Pre-Compositing Template.

| a) | Details of a link node with anchors. |
| b) | Details of the output socket of a link node. |


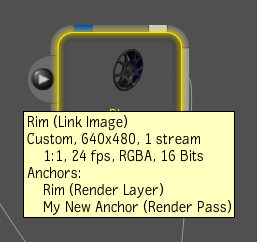
The new anchor was added to the bottom of the list of anchors. The type of anchor is indicated in parentheses.
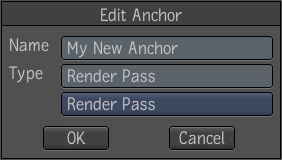
The Edit Anchor dialog box displays.

 Except where otherwise noted, this work is licensed under a Creative Commons Attribution-NonCommercial-ShareAlike 3.0 Unported License