In order to correctly project images onto televisions, bulletin boards, and other quadrilaterals in an image sequence use
the 4-Point tracking workflow.
With four-point tracking (also known as corner pinning), you use four trackers to generate tracking data for anchoring the
four corners of a bilinear surface to background footage.
The reference points you use must be well-defined; it is recommended that you plan them when shooting the sequence (for example,
add markers to the scene). It is not always possible to do four-point tracking when the reference points are not well-defined.
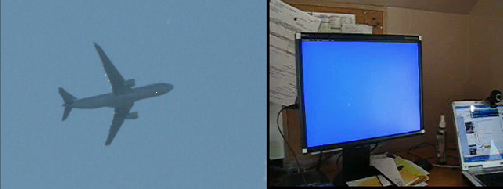
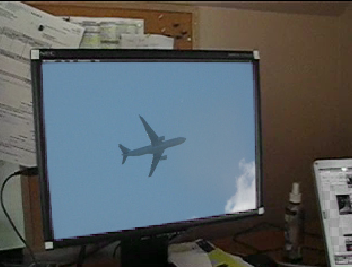
In the following example, the goal is to pin an image of a jet to the screen of a monitor as the camera moves.
NoteYou can also use the Reaction tool, and the position and translation parameter controls of the Warp2D tool, and the position
and translation vertices parameter controls of the Garbage Mask, and Remove Dust tools.
To corner pin and track a bilinear surface to background footage:
- In the Schematic view, the basic dependency graph has been set up with the following nodes:
| Node |
Purpose |
| Input image (front) |
This is the footage that will tracked. |
| Input image (back) |
This image will be corner-pinned onto the front footage. |
| Keyer |
The Keyer is used to remove the blue portion of the monitor. |
| Tracker super tool |
The Tracker will track and analyze the movement of the four corners of the monitor. The Tracker super tool is used because
multiple Tracker Analyzers are required.
|
| Blend & Comp |
The Blend & Comp node will combine the two processed images. |
| 2D Transform |
The 2D transform tool will apply the necessary transformations to the image to be corner-pinned. |
| Output |
Outputs the final composition. |
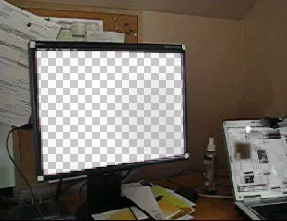
- Remove the blue screen from the monitor with the Keyer.
- Create four Tracker Analyzers and name them as per their corner positions, then position them in the locations that will make
up the four corners to pin.
- Adjust the Display, Analyze, Reference box and Tracking box settings.
- Analyze each track (do not forget to reset the footage back to the start frame after each analysis). You can also select the
first Tracker Analyzer and Shift + click the last one to select all trackers to analyze at the same time.
- Connect the RGBA output from the Keyer to the Front input of the Blend & Comp node, and the output of the second image into
the Back input of the Blend & Comp node.
- Add a 2D Transform tool to the graph between the second image and the Blend & Comp node.
- With the 2D Transform tool highlighted, select 4 Point from the Transform Type menu.
- Click Fit To Source
- Right-click on the Destination label and select Set Trackers.
- Select the trackers in the same sequence as you created them from the Tracker Selector window and activate the Use Offset
toggle.
- Click Link.
The bilinear image is pinned to the background image.
- If the corner-pinned image is too small or too large for the screen it's replacing, create another transform and adjust its
scale while in the SRT transform type.
 Except where otherwise noted, this work is licensed under a Creative Commons Attribution-NonCommercial-ShareAlike 3.0 Unported License


 Except where otherwise noted, this work is licensed under a Creative Commons Attribution-NonCommercial-ShareAlike 3.0 Unported License