1-point stabilizing is useful when the motion you want to remove is horizontal/vertical (side-to-side/up and down).
Hand-held camera and helicopter shots nearly always have undesired horizontal or vertical motion jitter.
In the following example, the camera was bumped several times during filming which caused unwanted camera motion along the Y axis.
To perform 1-point stabilizing:
Although this example uses the Reaction tool, any tool that has position and translation parameter controls can be used to perform 1-point stabilization, such as the Panner tool, 2D Transform, Warp 2D and the vertices in the Garbage Mask and the Remove Dust tools.
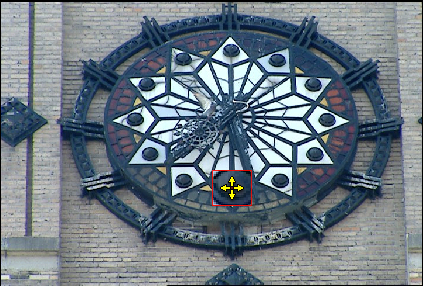
A decorative point at the six o'clock position was chosen as the reference feature.


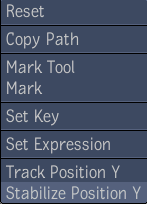
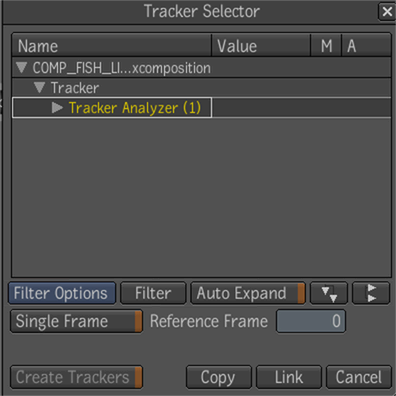
An expression is automatically created linking the tracking data to the stabilizing filter for position Y.