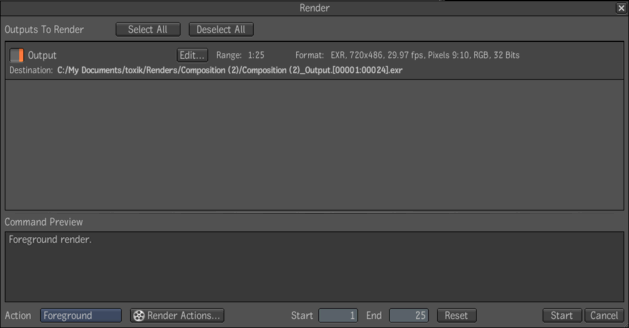
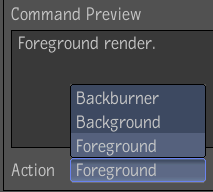
You can render a composition at any time, to save the final output of a composition. When you render a composition, you choose the output(s) you wish to render, and the way in which they will be rendered, which is called the render action, as either the foreground or one of the many background actions. A progress bar displays the rendering of frames for all outputs. The outputs are rendered in parallel, one frame index after another alternating between each output. This can speed up the rendering process because some intermediate results are reused.


Foreground will perform the render while blocking further interaction with the Composite UI. It will only use the local machine, but is the fastest single-machine rendering option. Its disadvantage is that you cannot use Composite while rendering proceeds.
Background will also perform the render on the local machine, but allows you to continue using Composite during rendering. It is slower than Foreground rendering.
Backburner dispatches rendering to Autodesk Backburner(TM), Autodesk's distributed network rendering solution. As for Background rendering, you can use Composite while rendering proceeds. When you choose Background or Backburner rendering, the render is done on a copy of the composition: modifying the composition while it renders will not affect the result of the rendering.
To display the list of background tasks:

(a) Number of ongoing render tasks