When exporting for SOFTIMAGE|XSI, MatchMover creates two files: a dotXSI file and a .vbs file. You don’t need to import dotXSI file by yourself, open the .vbs file in the script editor and it will load the exported scene and set all needed parameters for rendering:
- Open the script editor using: Application > Views > Script Editor.
- Select File > Open... in the script editor.
- In the window that open. Select the ".vbs" file exported by MatchMover.
- Select Run.
The XSI format does not specify whether the FOV is horizontal or vertical. SOFTIMAGE|3D reads it as vertical, while SOFTIMAGE|XSI
reads it as horizontal.
You will therefore need to adjust it when import completed.
The imported scene includes:
- A root object called rzGroup which you can use to move the entire scene exported from MatchMover.
- A camera object with animated transformation and focal length.
- All 3D objects in the project.
- An image plane, eventually undistorted, attached to the camera with a size and coverage initialized to assure the right matching
between the camera aperture and the tracked sequence.
- A set of locators for each reconstructed point track.
- Presets for render resolution.
- Synchronized cameras with their respective image planes in case of a MOCAP project.
You may need to adjust your viewport settings in order to display the textured sequence.
If you wish, you can delete this image plane and use rotoscopy options of SOFTIMAGE|XSI:
- Select the Rotoscope mode.
- Edit the Rotoscope options.
- Select Camera Rotoscopy > General > New > New from file.
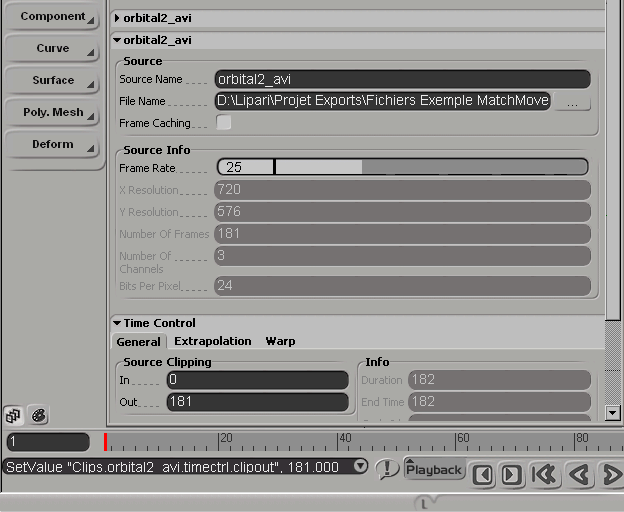
- In the window that opens, select your video file.
- In Source Info, adjust the frame rate if necessary.
- In Time Control > Source Clipping, adjust "out frame" to your video length-1 (number of frames displayed in Source Info).