In this section of the lesson, you will add three tracks that correspond to points in the scene’s static background. This is the minimum number of points required to define a coordinate system. Creating these tracks defines a 3D coordinates with respect to a world coordinate system attached to the background, which is very useful in motion capture. This step might not be necessary if all you need is to compute the 3D trajectories with respect to an unspecified coordinate system
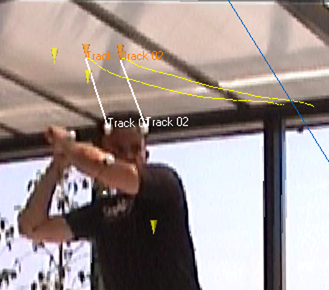
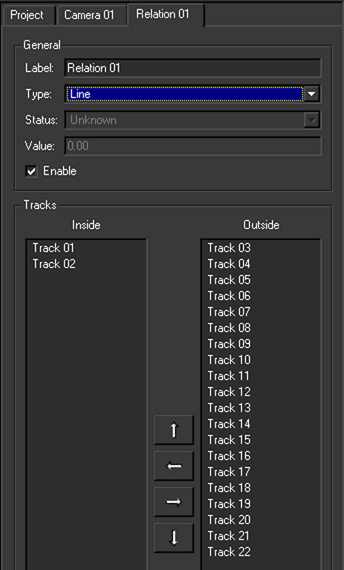
In the last step of the lesson you will create skeleton lines which will better display the motion captured and of the tracked scene.
Since there are 18 markers attached to the actor, each potentially a track point, you can either continue adding tracks to your current project, or you can open Actor_tracked.mmf which has tracks already created for all 18 markers. This file can be found in the Tutorials/Mocap directory.
You can also start this section of the lesson using Motion_solved.mmf. In this file, six markers have been tracked. This file can be found in the Tutorials/Mocap directory.
If you want to add the tracks yourself, do so before continuing the lesson.
To create point tracks in the background
Since the point tracks that you will create for the background are for static, rigid objects, selecting the Point Tracks folder ensures that your new point tracks are not added to the Actor Point Tracks folder.
 icon.
icon.
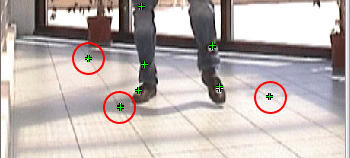
You can try to use the square patterns to locate easily recognizable locations on the floor as you will need to place a track point in the same location in Sequence02.
This point is reconstructed in space right away, based on the existing camera calibration (solve). If the point is in the wrong location in one of the sequences, the cross-hairs will appear in red. This can often happen if your video sequences are low-resolution, compressed footage.
The goal is to place track points that define a coordinate system on the ground.
 icon.
icon.
The camera is calibrated with the a coordinate system on the scene’s background. You can now finalize you project by building some skeleton lines.
 that is located in the top left corner of both viewports.
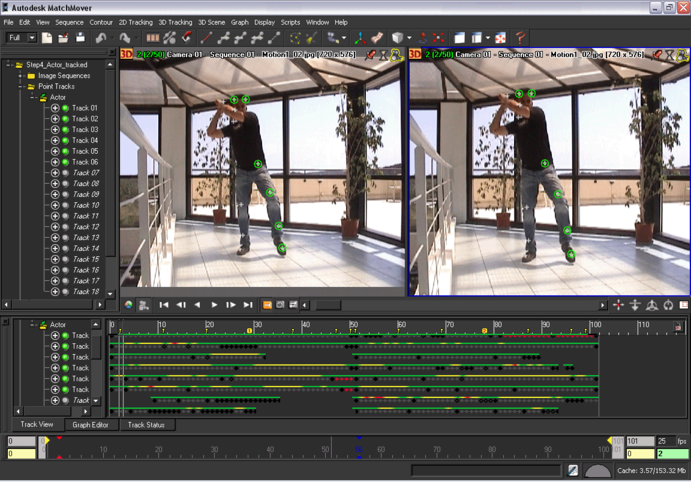
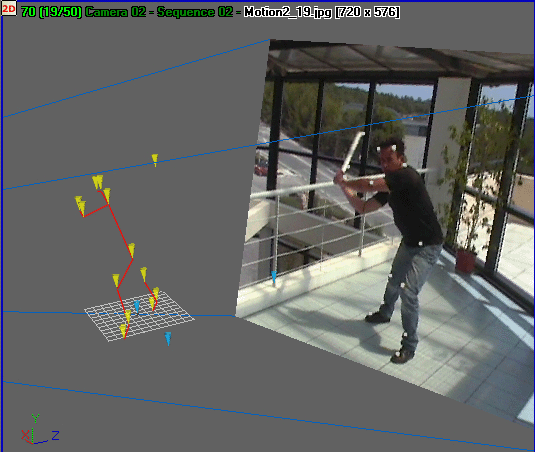
The view switches to 3D mode. A camera icon and grid is placed in the Workspace.
You can also switch back to a single viewport by selecting Single Viewport Space from the Toolbar.
You can export your project to a file format supported by your favorite animation or composition software by selecting File > Export.


