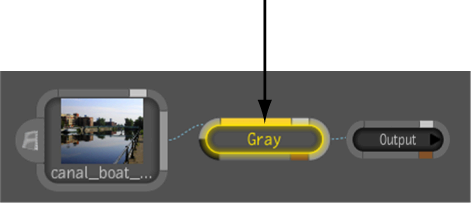
In this example, you'll be creating a simple animation that would change the amount of gray in an image over the span of 96 frames. You'll be manually setting keyframes using the tool UI.
It is assumed that the composition is loaded and that the Gray tool has been added to the dependency graph.
To animate the amount of gray in an image using the Gray tool UI:
A green line appears at the top of the attribute label, indicating that the attribute is now animated and has a keyframe at the current frame.
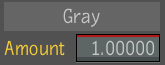
The green line changes to red to indicate the attribute is animated but has no keyframe at the current frame.

The green line changes back to red. Again, this indicates that a new keyframe has been added to the timeline.
You can also set keyframes in the tool UI by right-clicking an attribute field and choosing any of the options to mark attributes and set keyframes.


