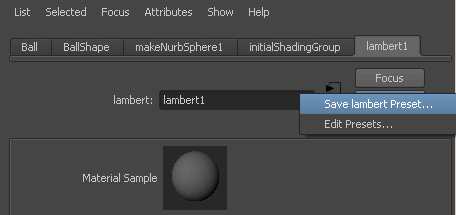
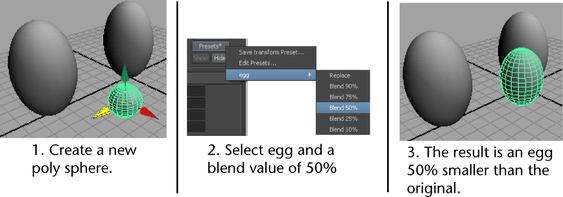
The Attribute Editor lets you save and re-apply presets. A preset is a collection of attribute settings you can save from one node and reapply to any number of other nodes.
This lets you store complex node setups, such as a library of lights set up with the attribute values you want.
Maya comes with a variety of presets for various nodes, such as fluids.
 on the Presets button
(to the right of the node name) to show a pop-up menu and select Save
(preset type) Preset.

If the preset already exists, you are prompted to overwrite it or save it with a different name.
To apply a preset to another node
 on the Presets button
(to the right of the node name) to show a pop-up menu.

Troubleshoot when the Presets button is grayed out
Some node types cannot be saved as presets. Shape nodes, for example, would be meaningful as presets.