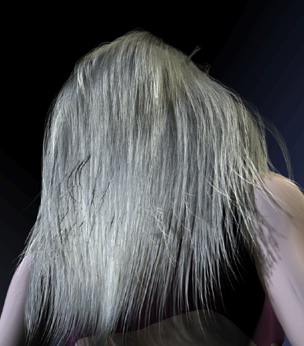
You can create hair on NURBS and polygonal surfaces. For polygons, UVs should be non-overlapping and fit between 0 and 1. Automatic mapping is a quick way to achieve this. (See Automatic UV mapping in the Mapping UVs guide in Maya Help.) You can also choose which UV set you want to use; see Select which UV set to use for Hair (polygons only).
Before creating hair, you should determine which renderer you’ll be using as this will affect what type of hair output you select: NURBS curves or Paint Effects. For more information about the differing outputs and what to consider when selecting output, see Hair Output and Hair > Create Hair.
If you create hair when an existing hair system node is selected along with the surface(s), then the newly created hairs will belong to that hair system.
If you create hair twice on the same surface with the same settings (with Randomization set to 0), no new hairs will be created. If you were to instead double the UV count, new hairs would be inserted on a double resolution grid with the new hairs occurring between the old hairs (every odd new hair would be rejected).
 , modify
the hair options as desired and then click Create
Hair. For descriptions of the hair options, see
Hair > Create Hair.
 . Set
the Follicle Density U and V,
the Points Per Hair and the Hair
Length, then paint on the surface where you want hair.
For information on the Paint Hair Tool options,
see
Hair > Paint Hair Follicles.
When you first create hair, the hair appears sticking out perpendicular (normal) from the surface. The hair is displayed in the Current Position. Before editing the hair, be sure to change to either the Start Position or Rest Position. Do not edit hair in the Current Position. (See Choose which hair curves to display.)
If you created or painted hair with Output set to NURBS Curves, a hairSystemShape is created. This node contains all the attributes that define the look and behavior of the hair.
If you created or painted hair with Output set to Paint Effects, an additional node is created, pfxHair.