The LightWave 3D® scene exported by MatchMover
can be imported as is in LightWave 3D.
MatchMover produces a
LightWave 3D scene file, a LightWave object for each 3D object in
the project and a LightWave object used to create an image plane
for each exported camera.
Select File
> Load Scene. The scene contains the tracked camera,
the 3D points as “null object” and information about the pixel aspect
ratio. The output size is also automatically set.
The scene contains:
- A root object called rzGroup which
you can use to move the entire scene exported from MatchMover.
- A camera object with animated transformation
and focal length.
- All 3D objects in the project.
- An image plane, eventually undistorted,
attached to the camera with a size and coverage initialized to assure
the right matching between the camera aperture and the tracked sequence.
- The 3D points as “null object”.
- Presets for render resolution.
Synchronized cameras
with their respective image planes in case of a MOCAP project.
Compositing in LightWave
3D
If you wish, you can
delete the image plane and use the sequence in LightWave 3D as a
background image.
Refer to “LightWave 3D
User Guide” for more information.
To use the sequence as
a background image:
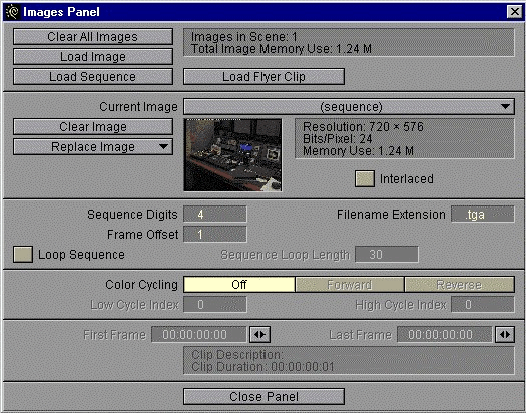
- In the Images Panel choose Load
Sequence, and choose an image in your sequence.
NoteCorrectly set the
frame offset. If your sequence numbering does not begin at 0 and
you enter 1, this would mean that “foo0001.tga” corresponds to frame
0 in your animation.
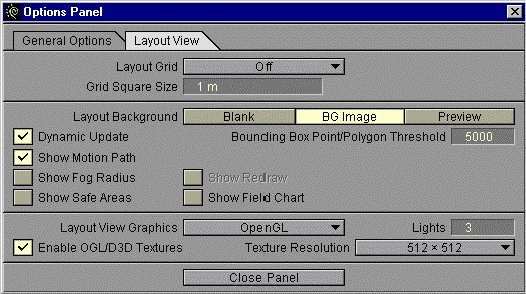
- In the Options Panel choose OpenGL as Layout
View Graphics and BG Image as Layout
Background.
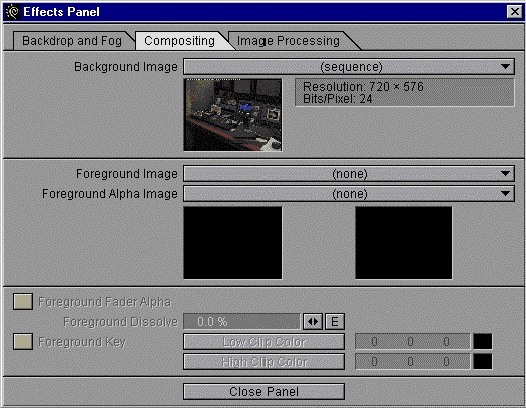
- In the Effects Panel,
click the Compositing tab and select your
sequence from the Background Image combo.
Now you can start animation
on top on the tracked sequence.
Working with interlaced
sequences
If your background sequence
is interlaced, you should check the Interlaced box
in the Images Panel.
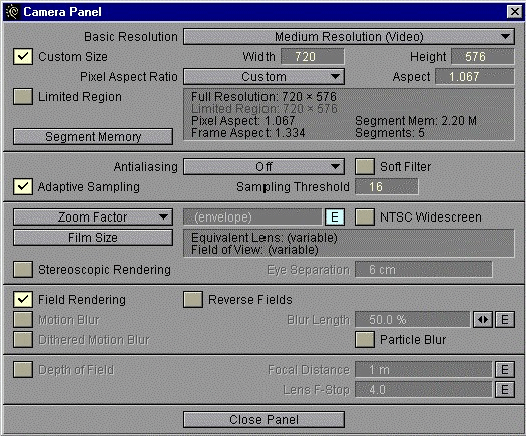
- In the Camera Panel, check
the Field Rendering box.
- If you chose Lower field first as
the interlace type in MatchMover, check the Reverse Fields box.
Now you can render your
interlaced sequence.
TipIf there is a slight
apparent motion of the virtual objects with respect to the background
image, make sure that you have chosen the right field rendering
type and the right frame offset for your sequence.